
Overview
By the end of this article, you’ll be able to quickly and effectively create Event Types in EventPrime to better organize and present the Events you manage. Event Types make it easier for users to browse Events and for administrators to manage them efficiently.
Steps To Add a New Event Type
To add WordPress Event Types/Categories, follow these steps:
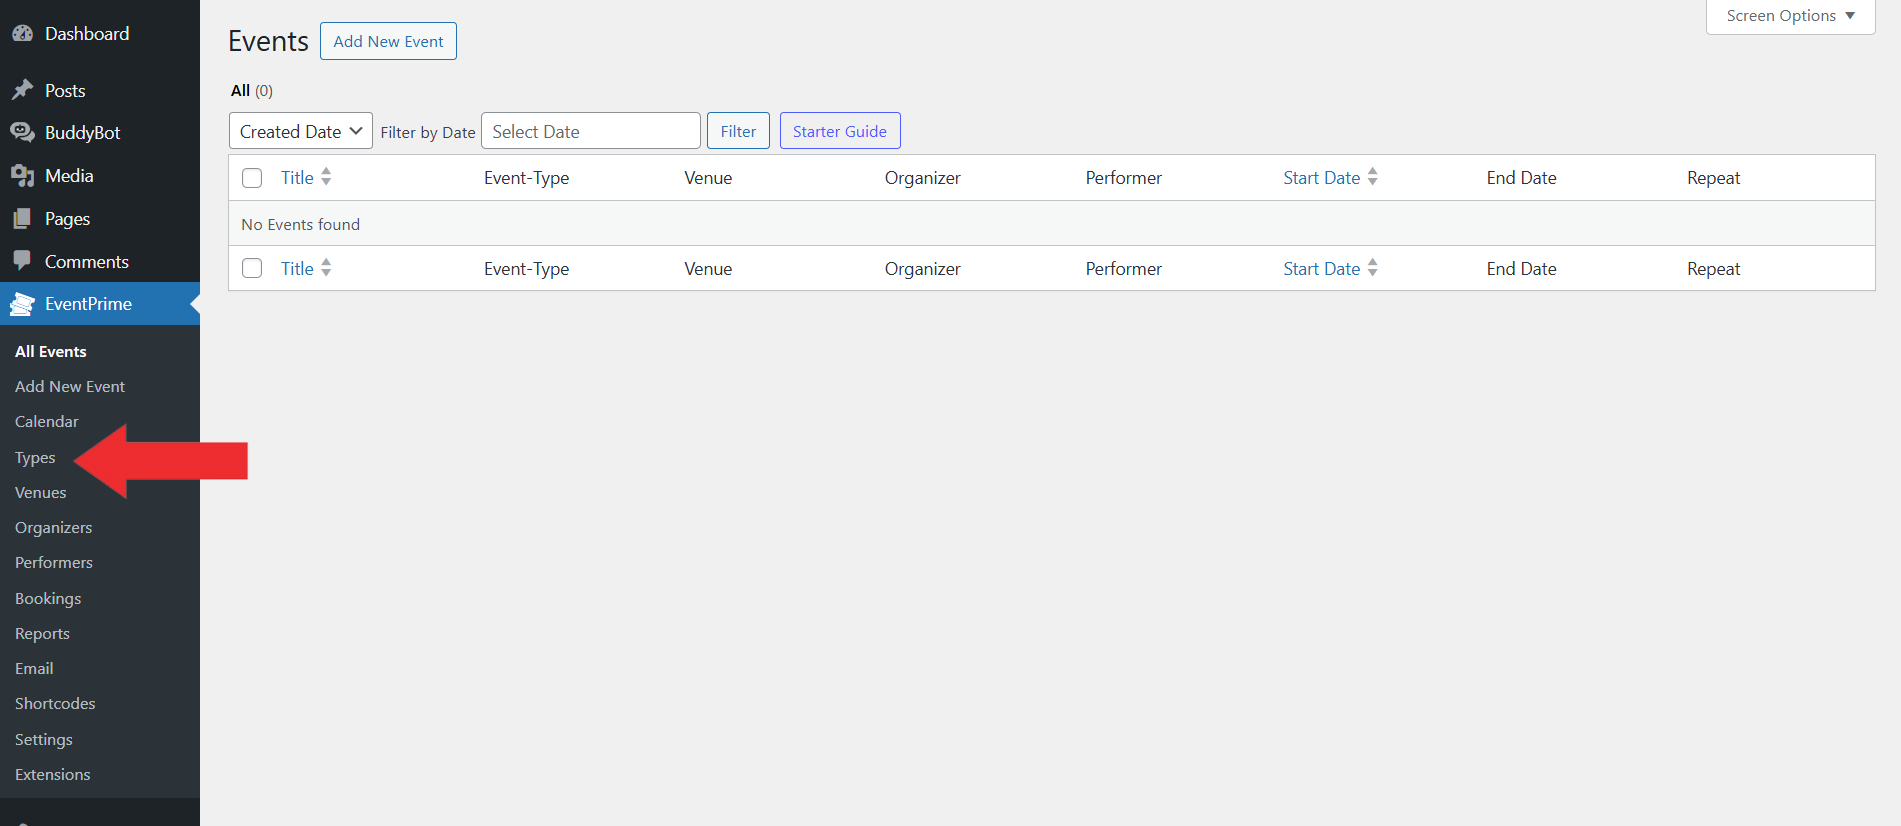
1. Open The EventPrime Menu and Choose Types
Navigate to the EventPrime menu on your WordPress Dashboard and click on the Types.
2. Enter The Details On The Types Page
Next, you’ll need to enter specific details to define the Event Type you want to add to your Events.
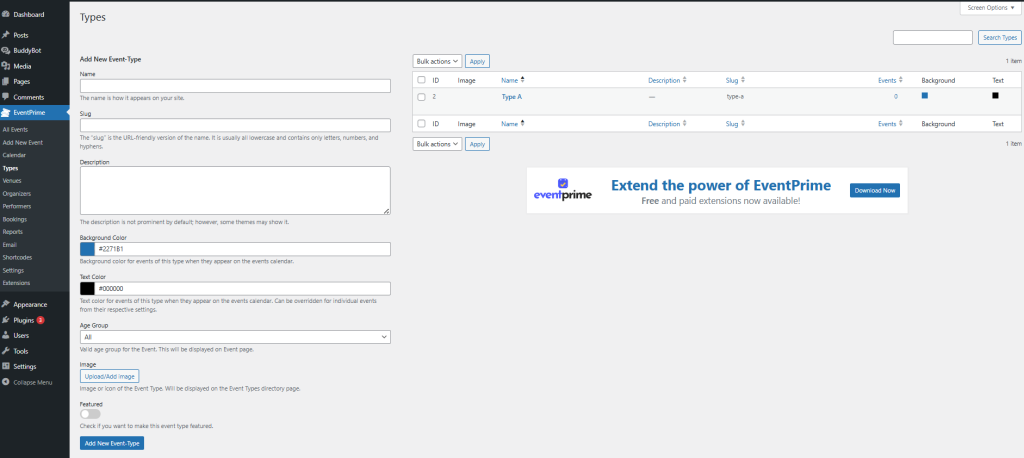
Name: Provide a descriptive name for the Event Type to ensure users can easily recognize and categorize it.
Slug: Define a URL-friendly version of the Event Type name. The slug appears in the web address and should be lowercase with hyphens (e.g., music-concert) for readability and consistency.
Description: Provide a concise yet informative description to give users context about the Events under this category.
Background Color: Choose a background color to visually differentiate this Event Type on the frontend. The selected color appears in both calendar and card views.
Text Color: Select a text color that contrasts well with the background to ensure readability and enhance visual clarity.
Age Group: Indicate the target age group (e.g., “18+,” “Kids”) to help users find relevant Events for their demographic.
Image: Upload an image that represents the Event Type. A relevant image improves visual appeal, captures attention, and helps users quickly understand the category.
Featured: Enable this option to highlight the Event Type on the frontend. Featured categories receive special visual emphasis, making them more prominent to users.
3. Click Add New Event Type
Once you’ve entered all the required details, click the Add New Event Type button at the bottom of the screen to save your new Event Type.
Assign an Event Type to a Specific Event:
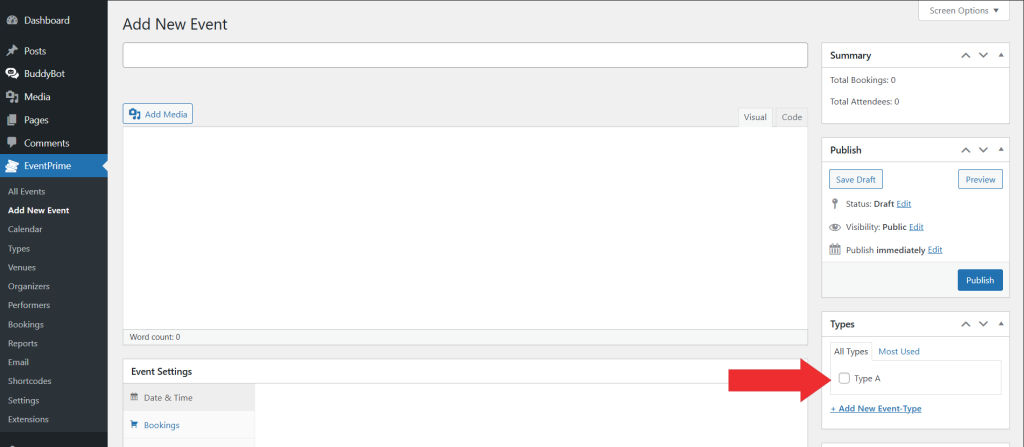
1. Open the EventPrime Menu and Choose Add New Event
From the EventPrime menu in your WordPress Dashboard, click Add New Event.
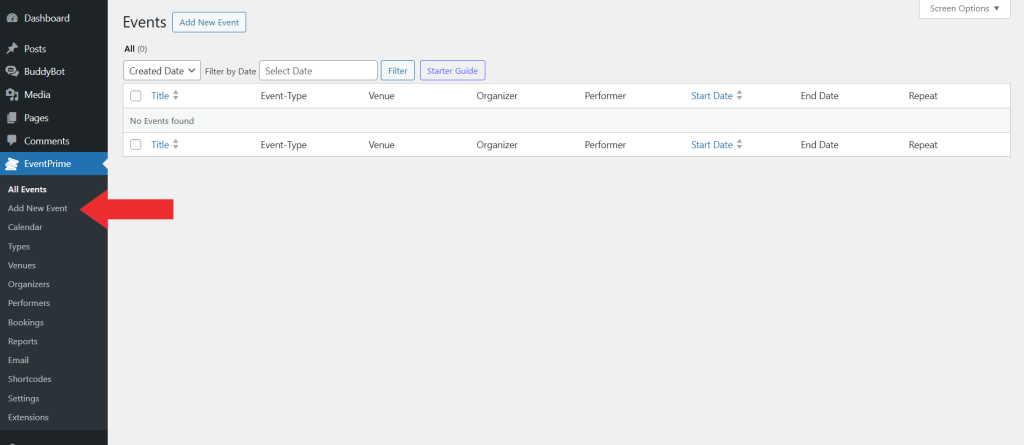
The Events page will be visible as per the following image:
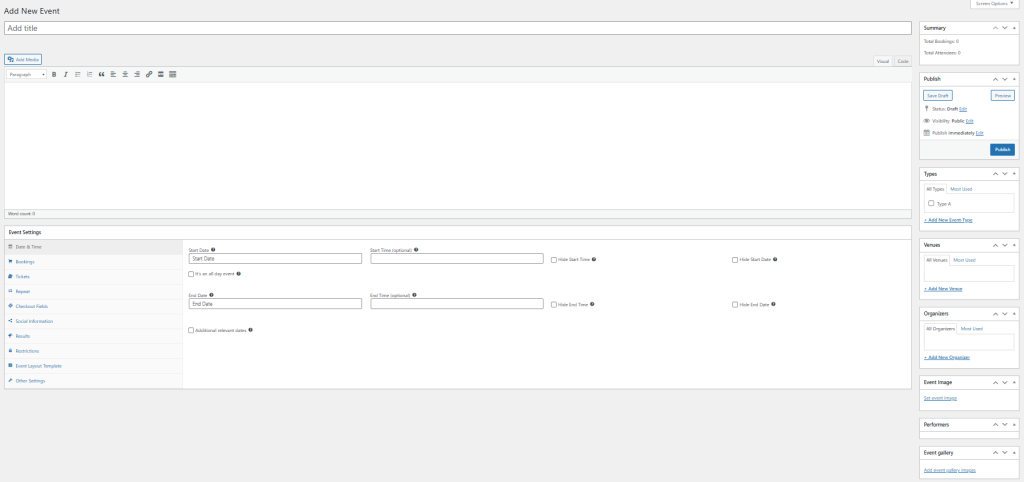
2. Click On Types
This page provides all the tools you need to create a new Event or edit an existing one. For now, focus on the Types section, where you can select and assign any Event Type you’ve previously created.
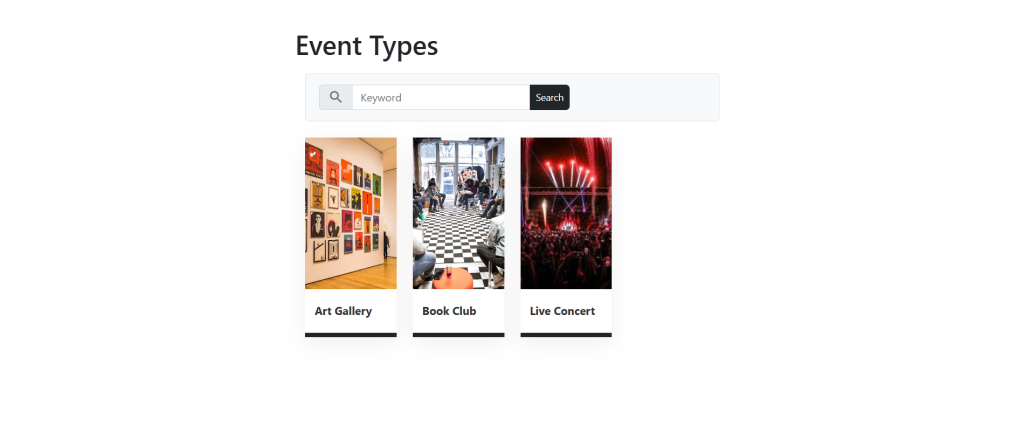
Frontend View
On the Event Types page, each Event displays its assigned Event Type as a label—showing the name, color, and any associated image.
Conclusion
Nice work! Your Event Types are set up and ready to go. Now, you can easily organize your events to match your needs, making event management smoother and more efficient.
Questions, Support & Custom Solutions
- Need more details or can't find what you're looking for? Let us know how we can help! Contact our support team here.
- Looking for a tailor-made solution to meet your specific needs? Our dedicated customization team is here to help! Use this link to share your requirements with us, and we'll collaborate with you to bring your vision to life.
Hi,
I created some events, and they are showing up correctly on the calendar. However, when I click on the event itself to go to its page, it redirects to an admin page (site.com/wp-admin/admin-ajax.php?event=2383) instead of the event’s own page.
Can you help me?
Thank you for reaching out to us.
Please go to WordPress Dashboard → Settings → Permalinks, select Post name as the permalink structure, and click Save Changes.
Sometimes this behavior may also occur due to a conflict with another plugin. We recommend temporarily deactivating all other plugins except EventPrime and then checking again.
If the issue persists, please reach out to our official support team here: https://theeventprime.com/support/ and they’ll be happy to assist you further or share the Event URL here to investigate further.