
Overview
The EventPrime Sponsors extension allows you to create dedicated Sponsor profiles and link them to specific Events. Add sponsor logos, descriptions, contact details, and social media links to boost your Event’s credibility and visibility.
Prerequisite
Make sure you have EventPrime and its Advanced Reports extension installed and activated on your WordPress website.
If you don’t have the extension yet, get it from here: Get EventPrime Sponsors Extension
Steps to Add Sponsors to an Event
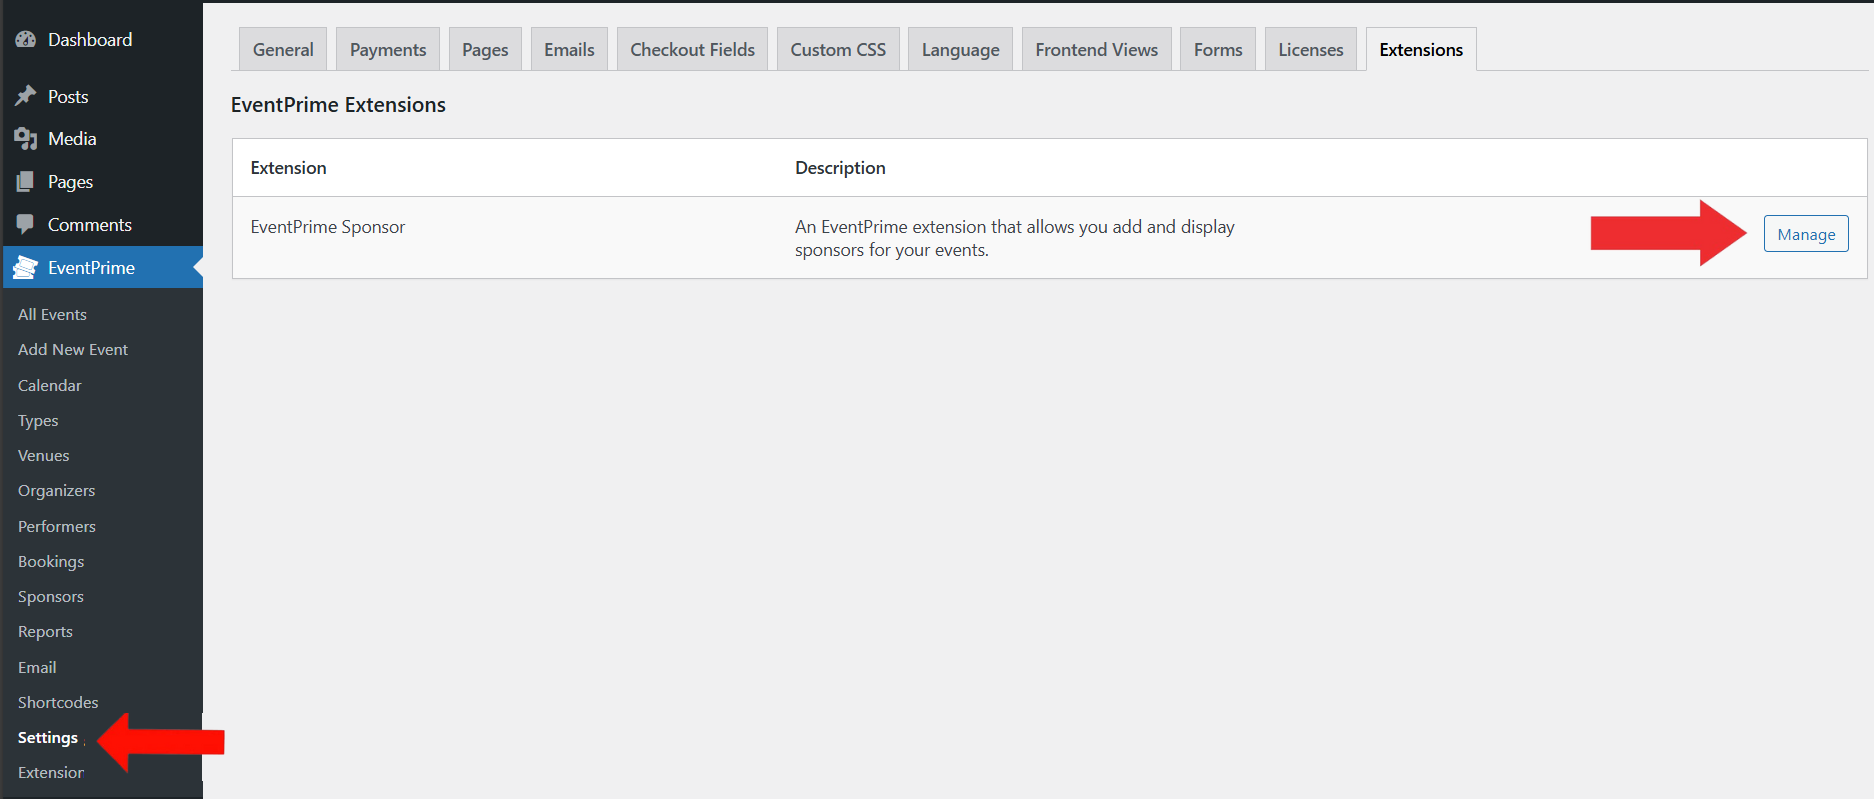
1. Access Sponsors Listing Settings from EventPrime
- Navigate to EventPrime menu, and select Settings submenu.
- Go to Extensions tab and click Manage button for EventPrime Sponsor.
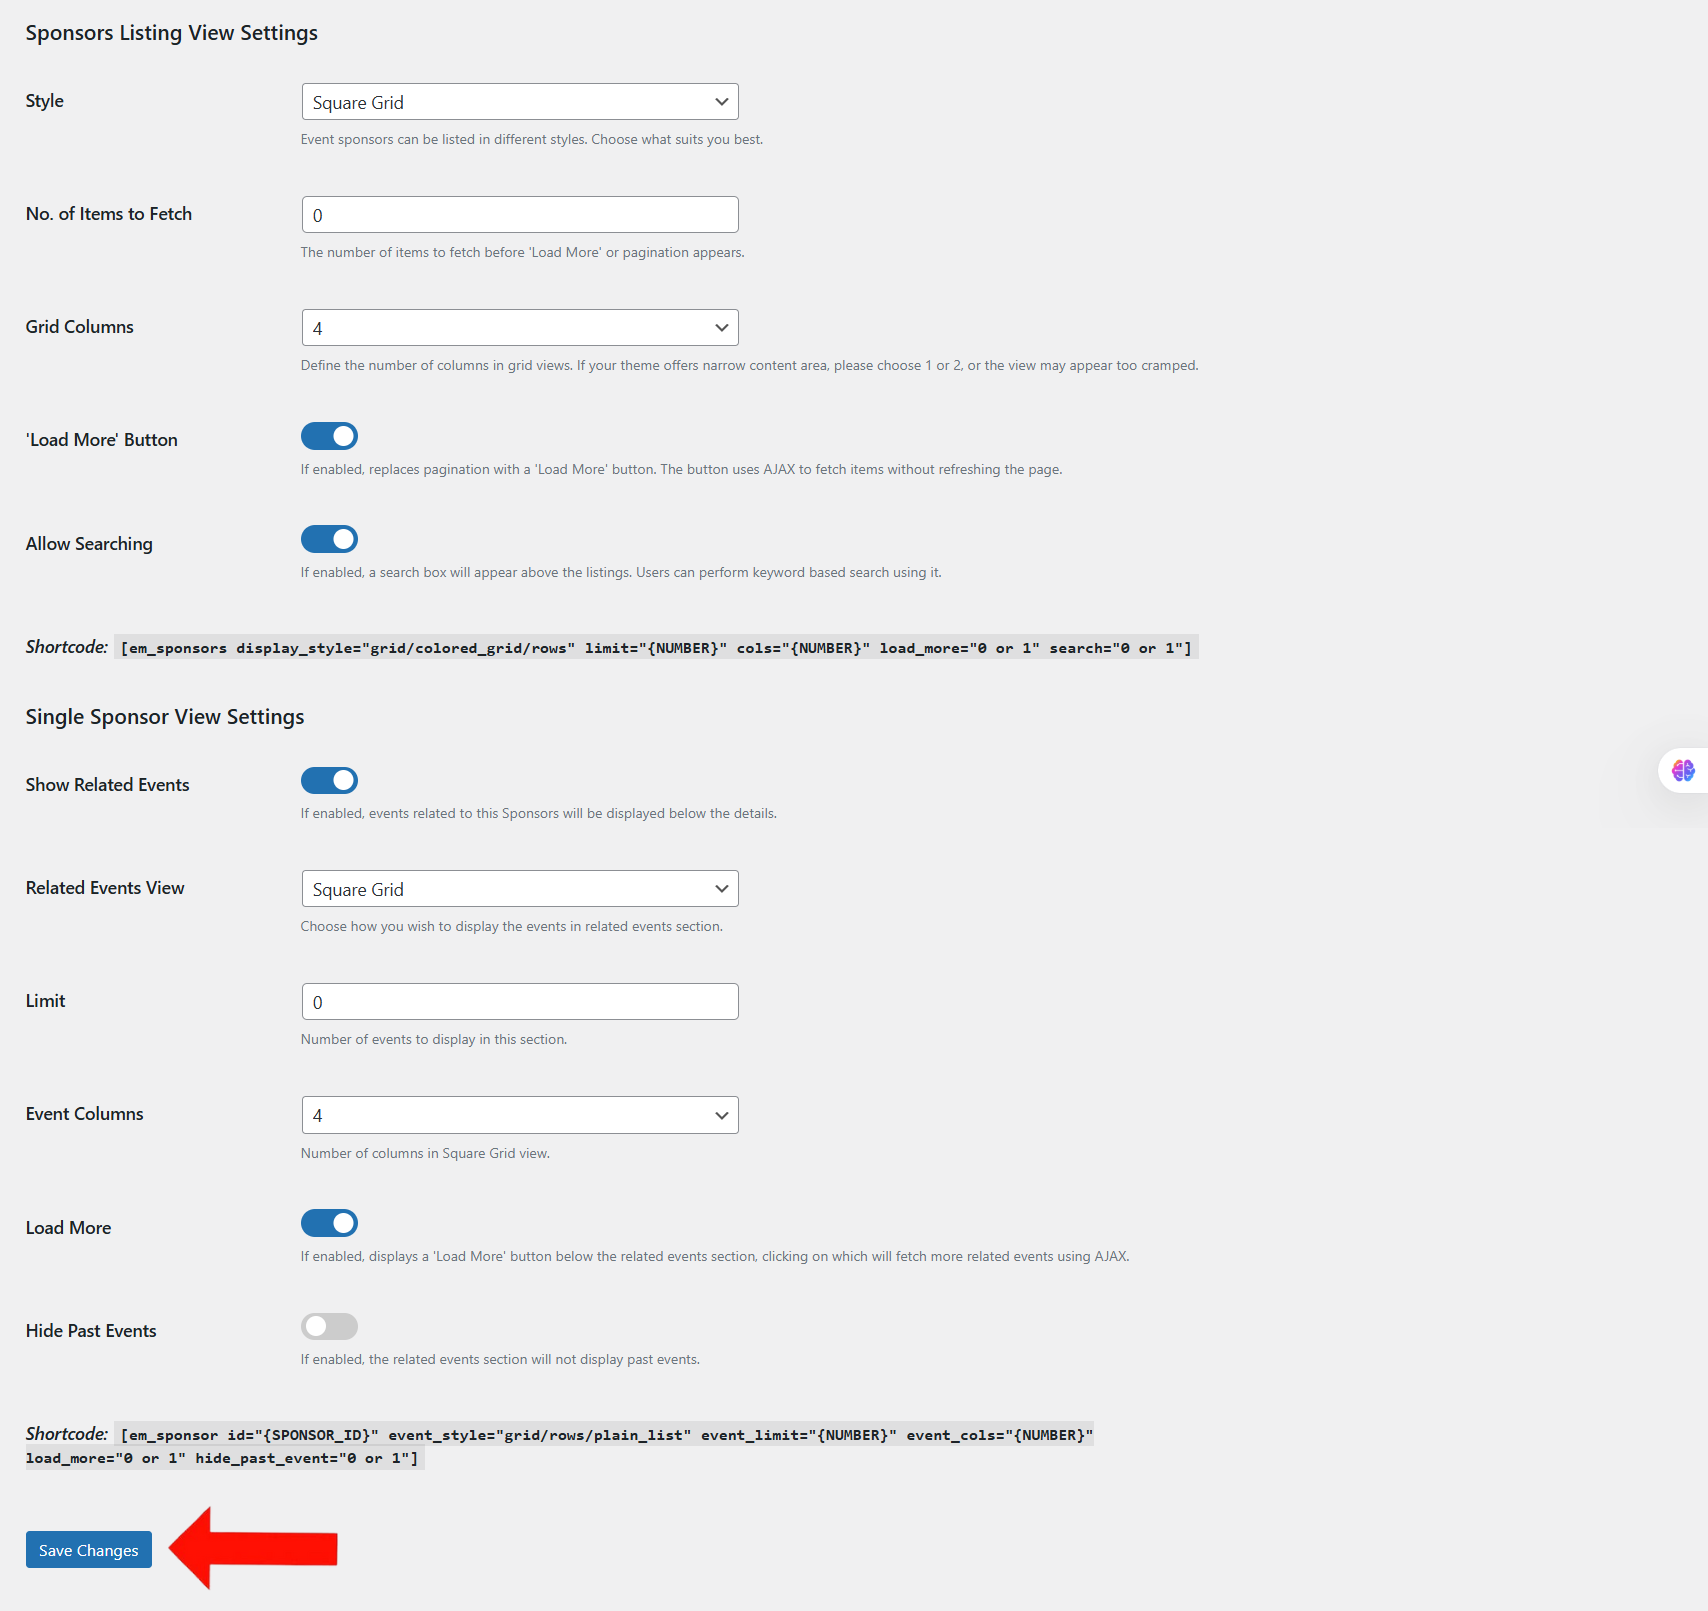
2. Customize the Layout for Sponsors Listing View on Frontend
- On the Sponsor Listing View Settings page, choose how Sponsors will be displayed. You can:
- Select a layout style (Colored Square Grid, Square Grid, Stacked Rows).
- Set how many items to fetch before pagination.
- Choose the number of Grid Columns.
- Enable or disable the Load More button.
- Enable Allow Searching to let users search Sponsors.
- In the Single Sponsor View section, you can:
- Enable Show Related Events option to show Events assigned to the Sponsor.
- Choose how many Events to show, and in what layout.
- Enable Hide Past Events to hide previous Events if needed.
- Use the provided Shortcodes to manually embed sponsor listings anywhere on your site.
- After configuring all options, click Save Changes to apply the settings.
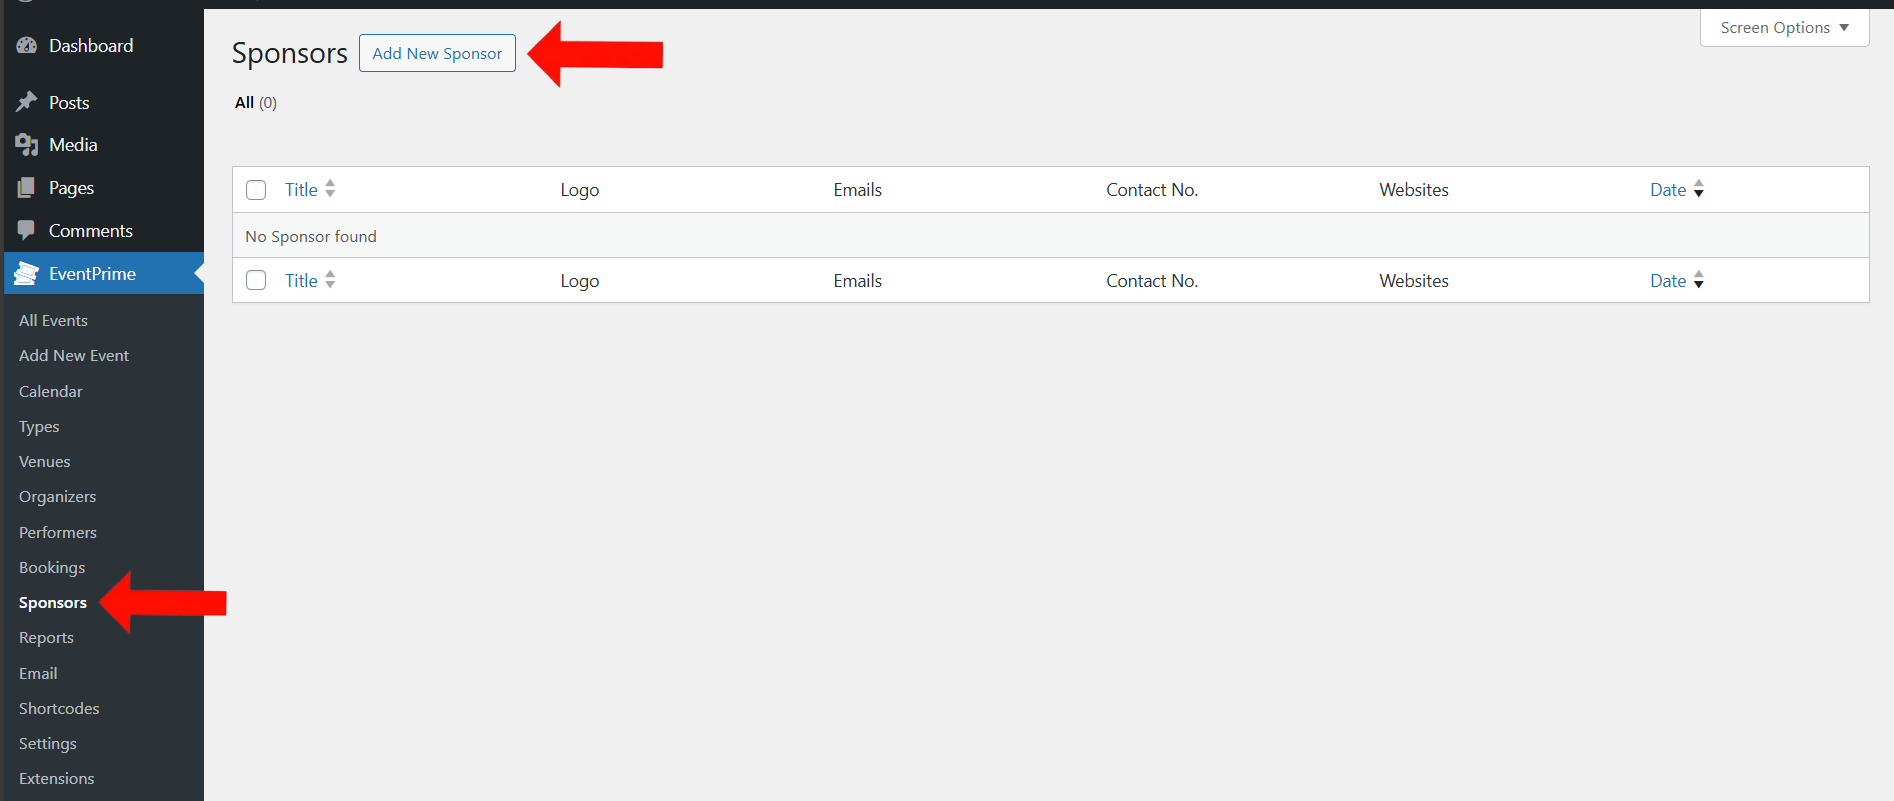
3. Add New Sponsor Profile for Events
- Navigate to EventPrime menu, and select Sponsors submenu.
- Here, you can view the list Sponsors available for your Events, click Add New Sponsor button to create new sponsor profile.
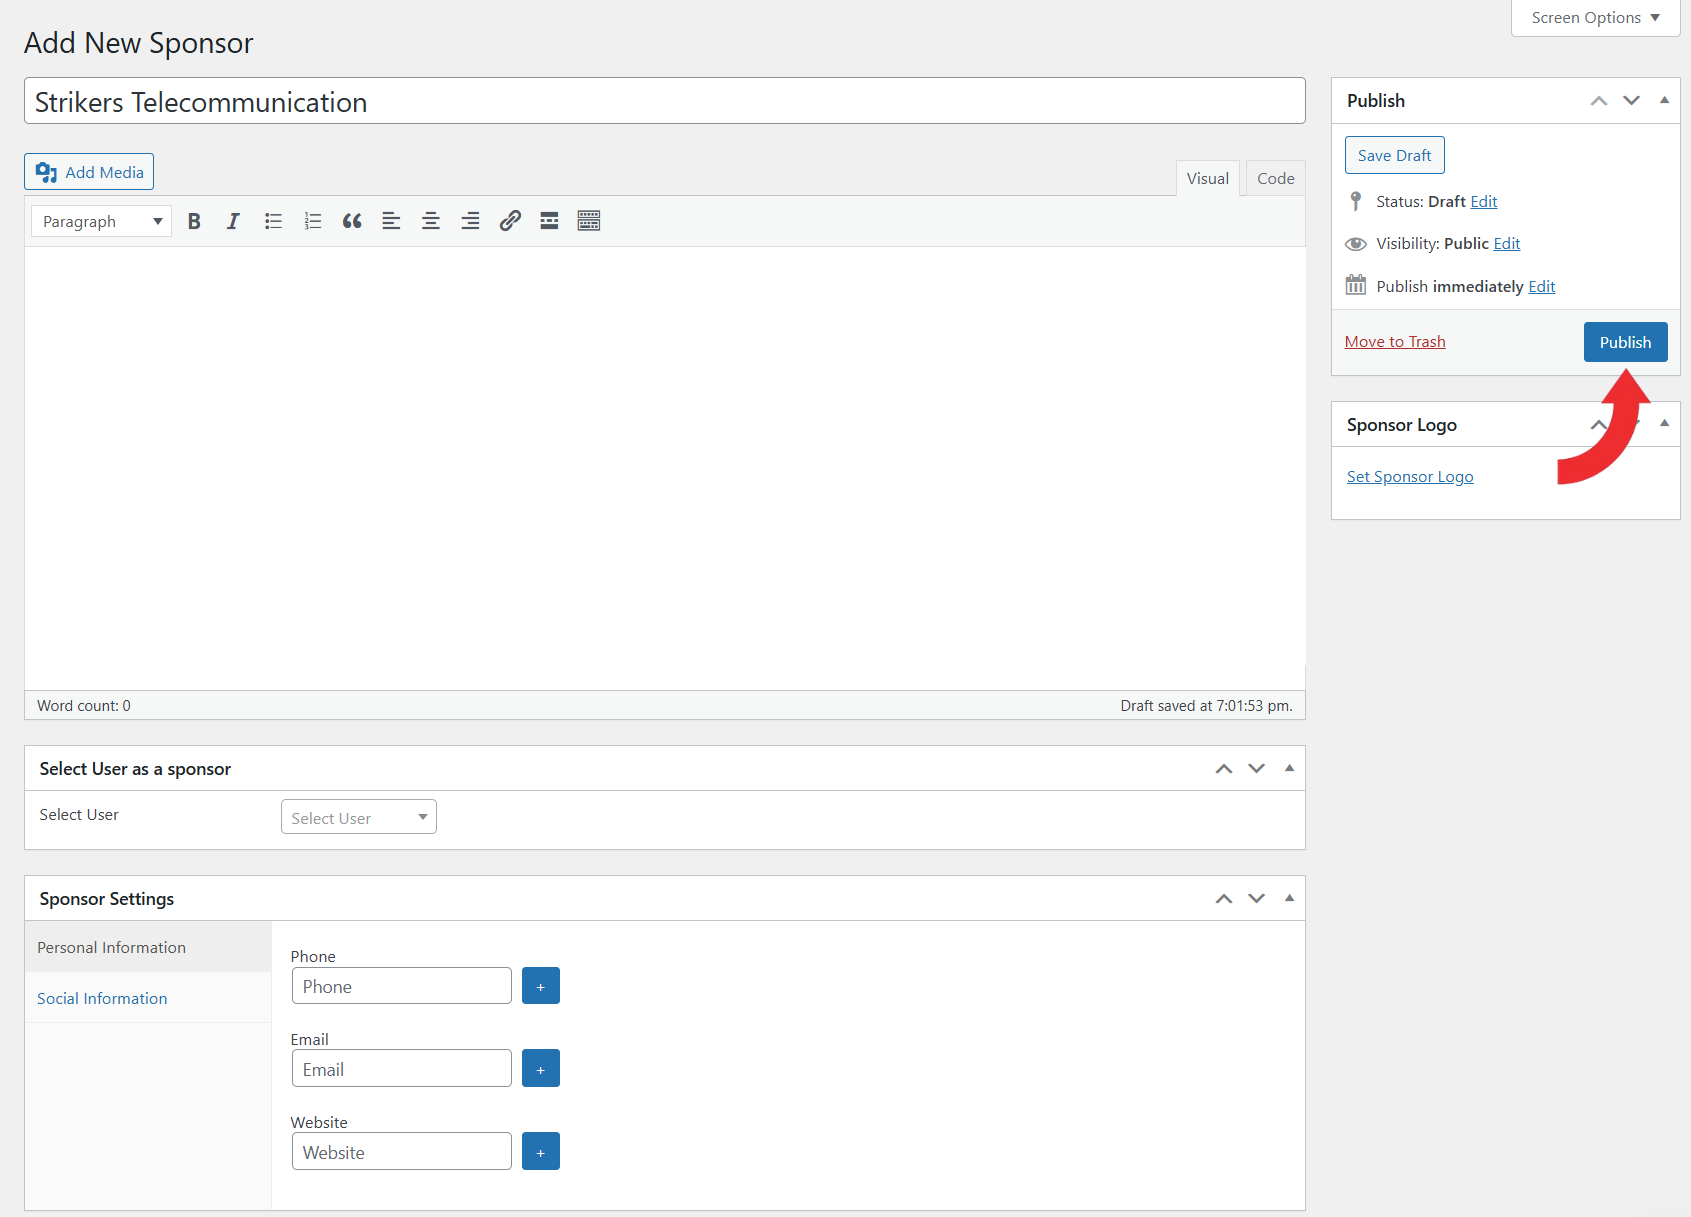
4. Enter Details for Sponsors and Link Social Media Profiles
On the Add New Sponsor page enter the following details:
- Title: Enter the sponsor’s name in the title field.
- Description: Add a brief description about the sponsor and their contribution.
- Enter Personal Information about sponsor such as:
- Phone Number
- Email Address
- Website Link
- Enter Social Media Information such as:
- Facebook page URL
- LinkedIn Profile URL
- Instagram Profile URL
- Set Sponsor Logo: Use the metabox on the right-hand side named Sponsor Logo to upload and attach the image for your sponsor.
- Once all fields are complete, click the Publish button to save and create the sponsor profile.
5. Assign Sponsors to Particular Event
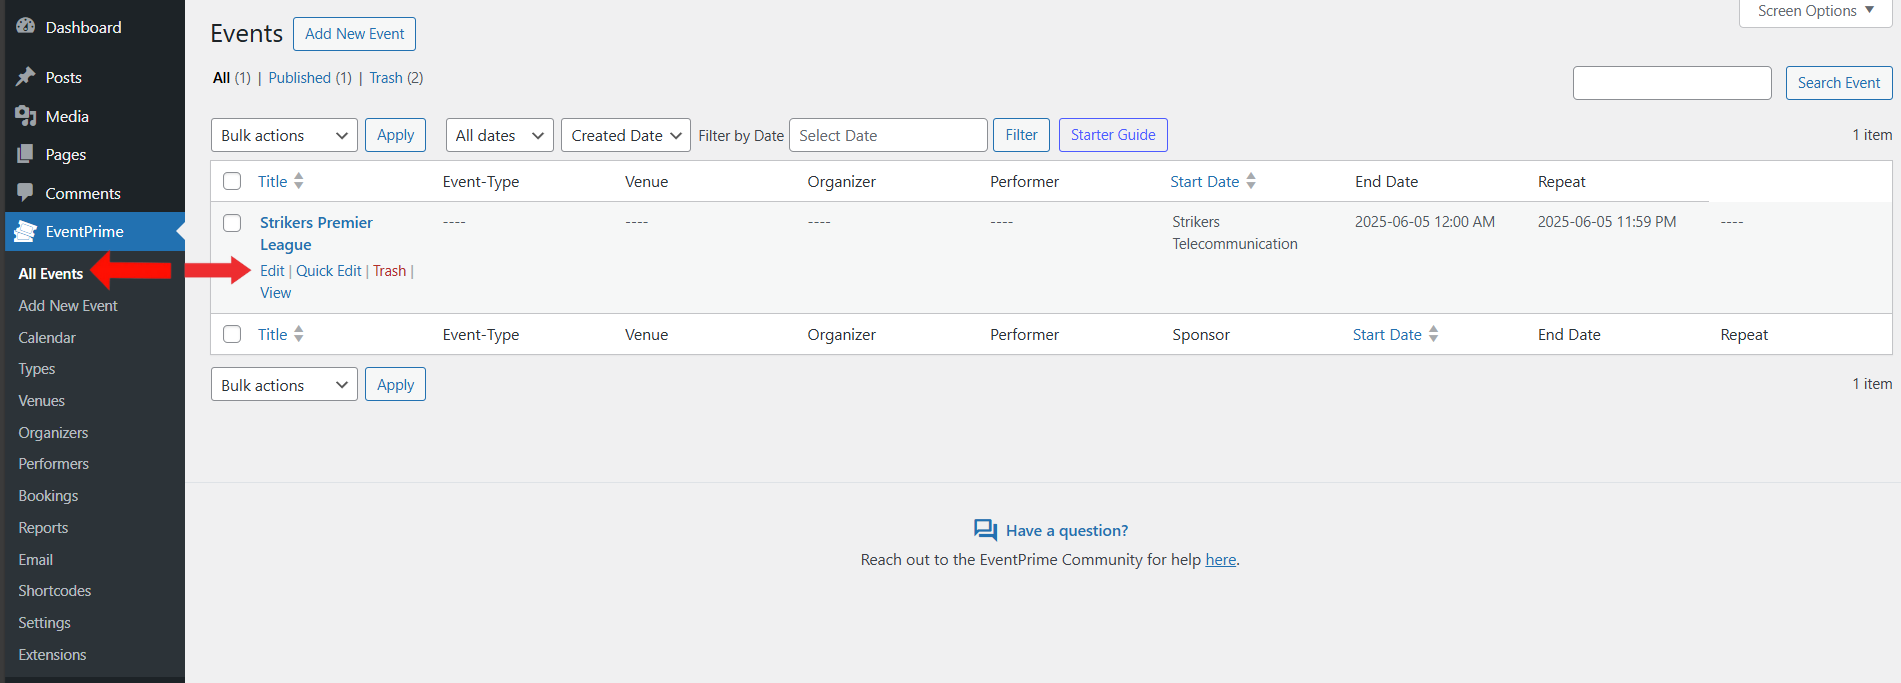
- Navigate to EventPrime menu, and select All Events submenu.
- In the list of Events, click Edit button for the Event for which you want to assign Sponsors.
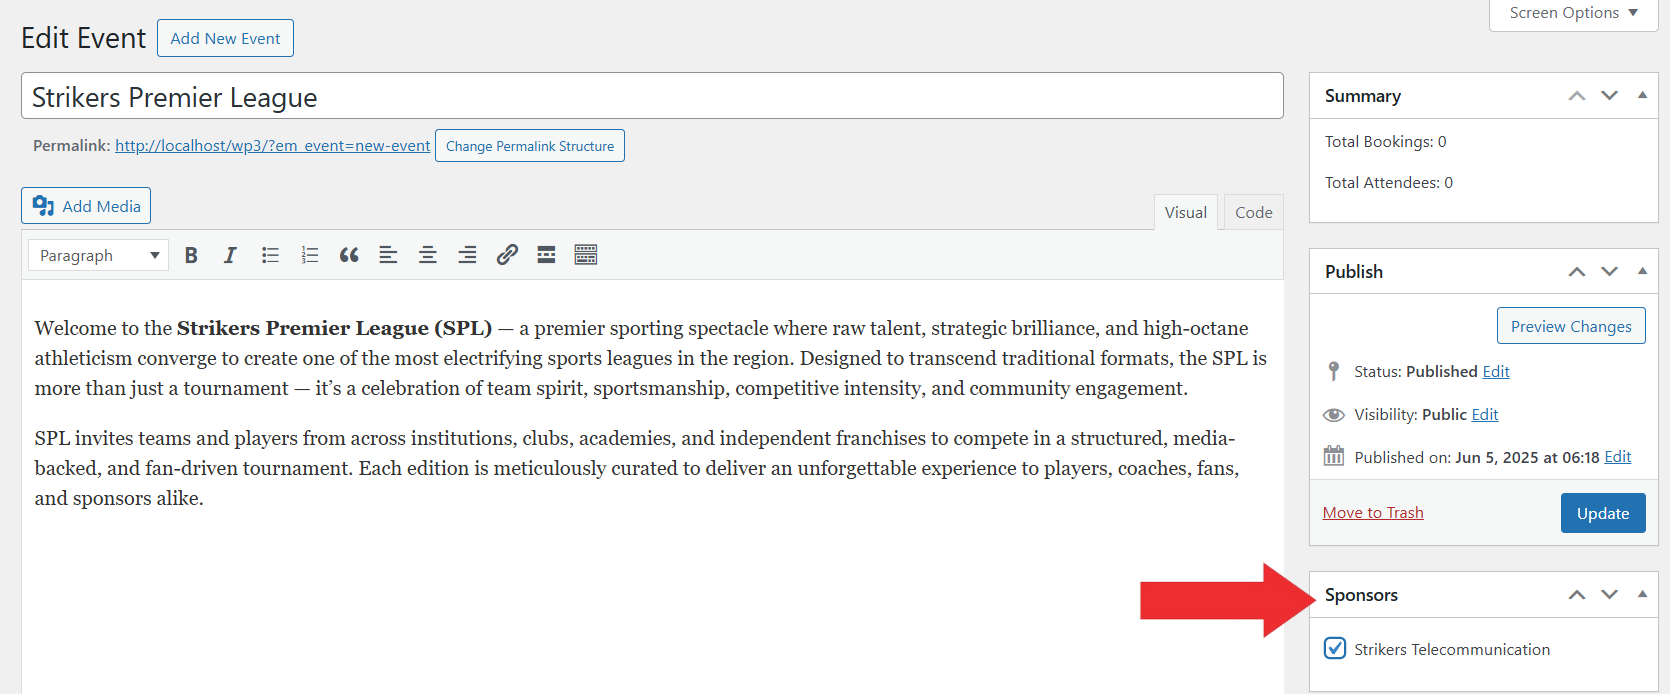
6. Choose Sponsors for Event
- On the Edit Event page, you’ll find a metabox named Sponsors on right-hand side section.
- Check the checkbox next to the Sponsors you want to assign to the Event.
- Update the Event to apply this setting.
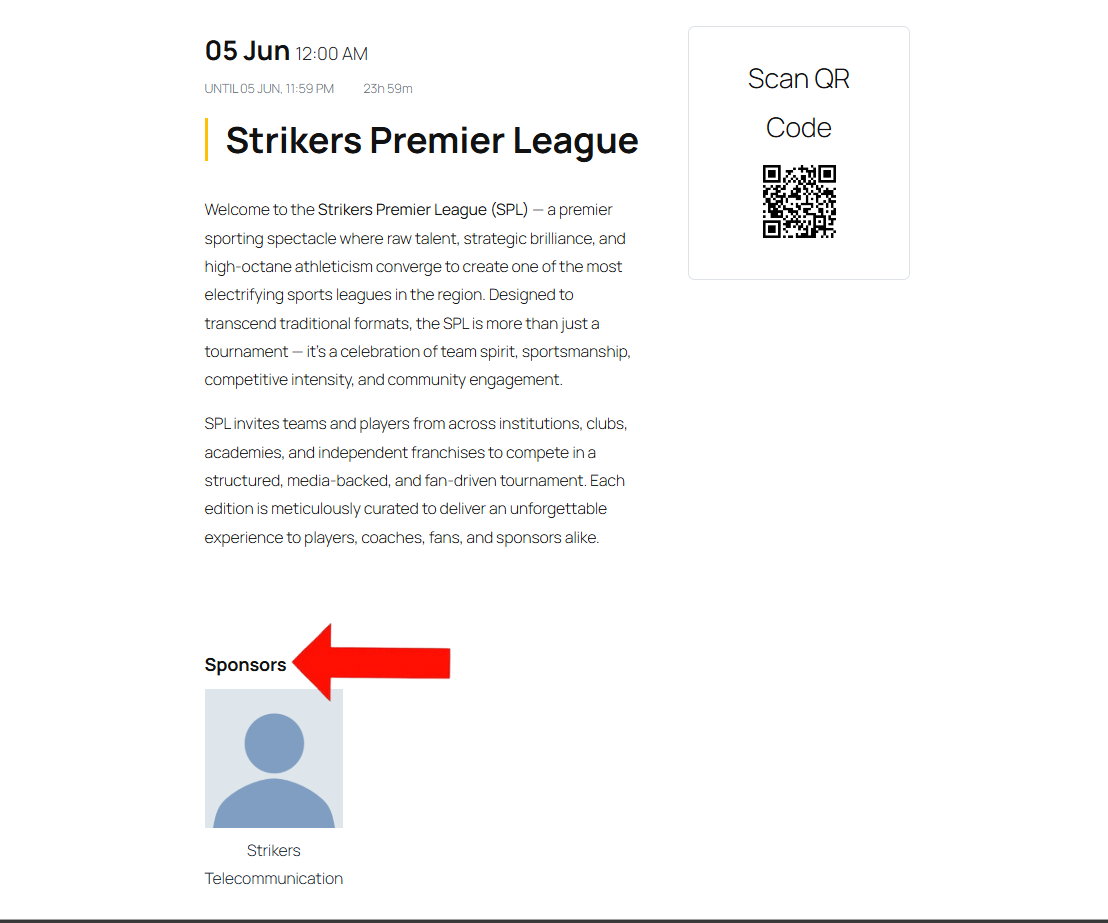
Frontend View
Once you assign Sponsors to an Event, their details will appear on the Event Details page on the frontend. The sponsor logo and name will be displayed under the Event description, allowing attendees to view which Sponsors are associated with the Event.
Conclusion
The EventPrime Sponsors extension lets you add sponsor profiles and link them to your Events. It helps you display sponsor details clearly on the Event page, making your Events more complete and informative for attendees. Keeping sponsor information organized also helps in managing Event partnerships better.
Questions, Support & Custom Solutions
- Need more details or can't find what you're looking for? Let us know how we can help! Contact our support team here.
- Looking for a tailor-made solution to meet your specific needs? Our dedicated customization team is here to help! Use this link to share your requirements with us, and we'll collaborate with you to bring your vision to life.