Overview
The Ticket Types feature in EventPrime lets you create multiple ticket variations within each category. You can set prices, define availability periods, control visibility, and manage other ticket-related settings while configuring your Event.
Steps to Create Ticket Types in EventPrime
1. Navigate to the EventPrime menu and select the All Events submenu.
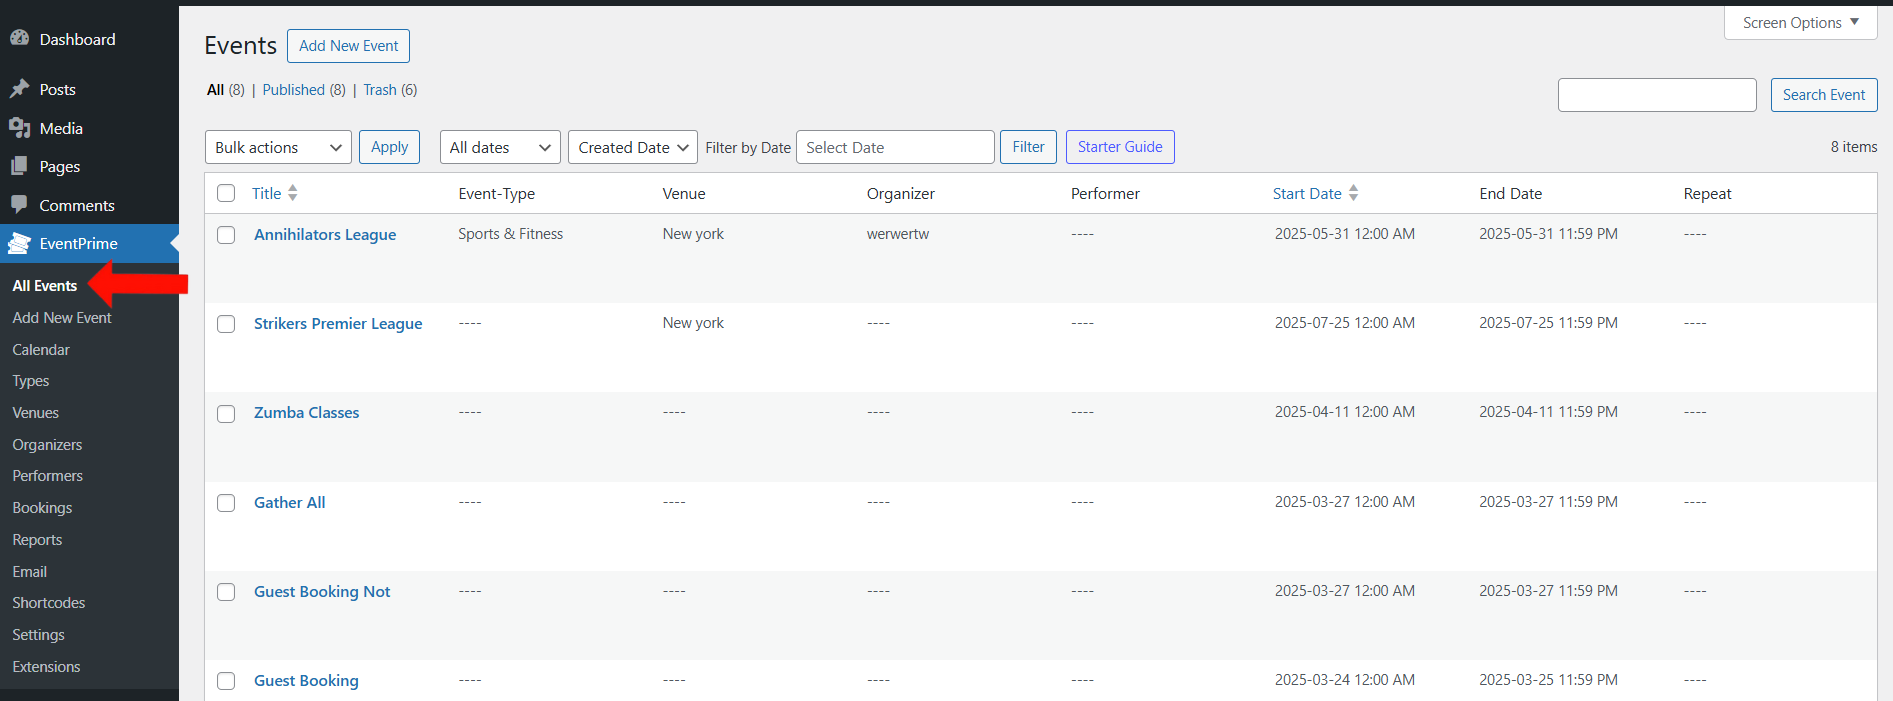
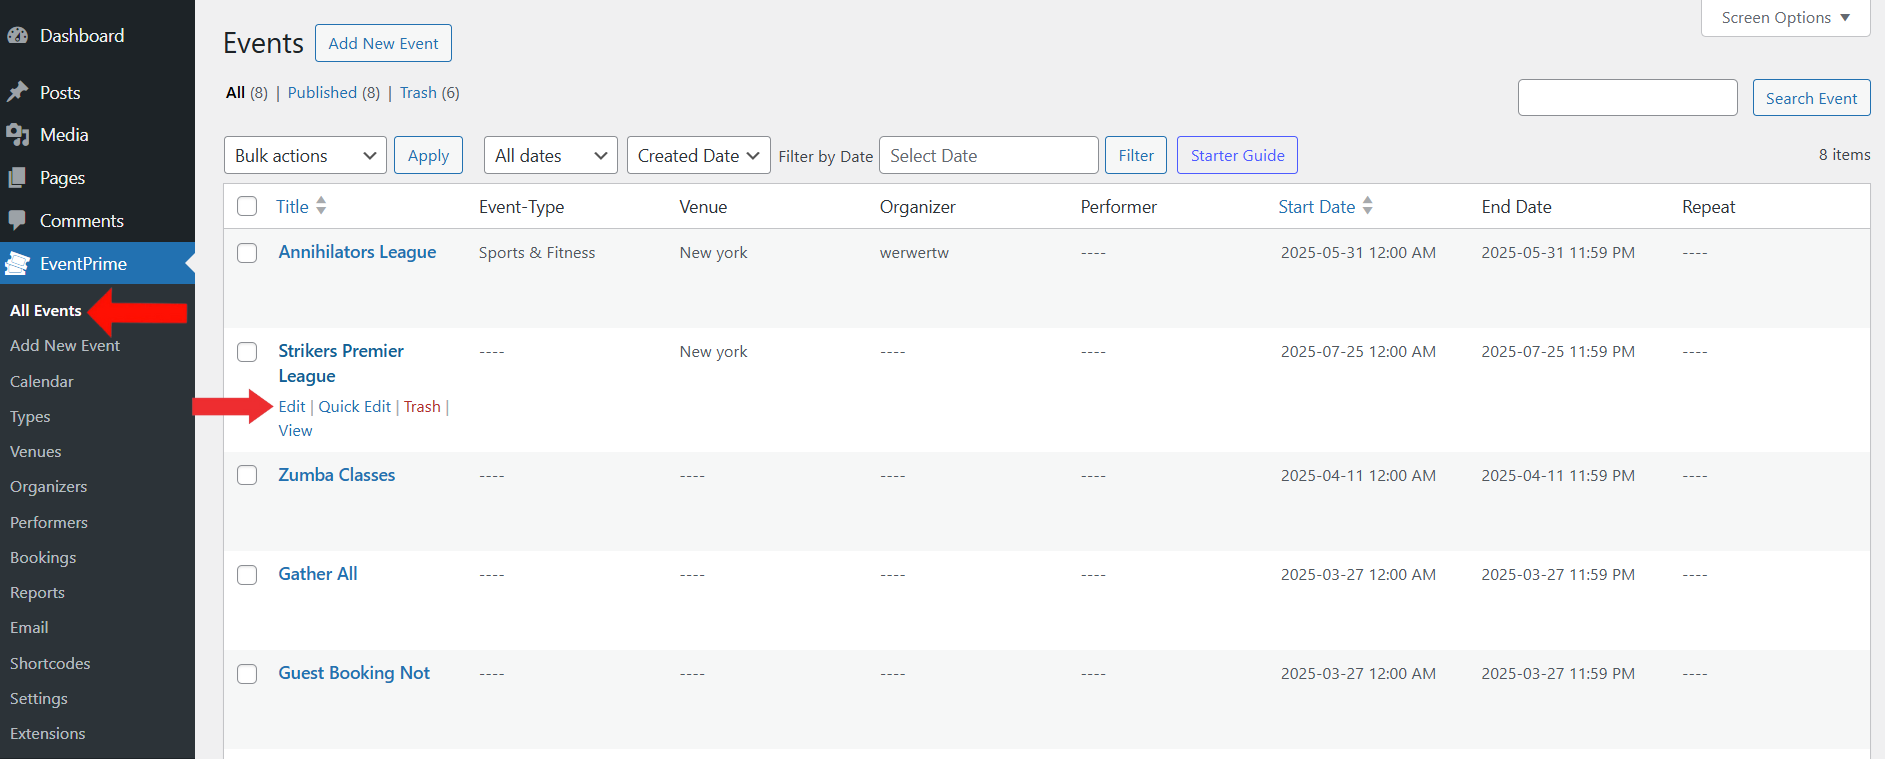
2. In the list of Events, click the Edit button for the Event where you want to add ticket types.
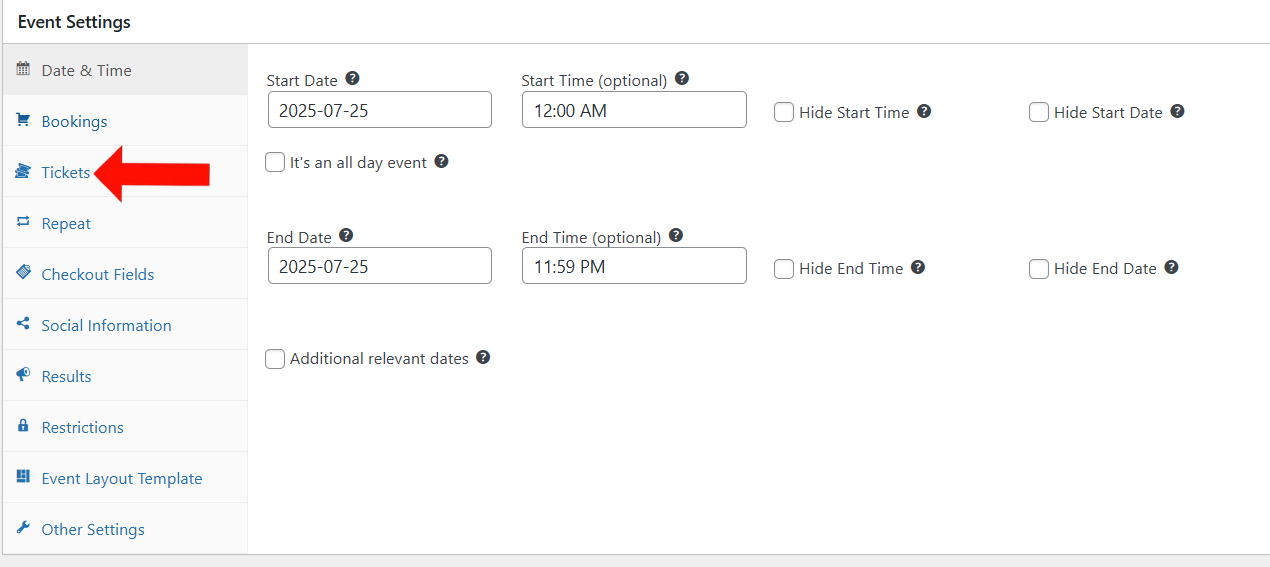
3. On the Edit Event page, go to the Event Settings and select Tickets tab.
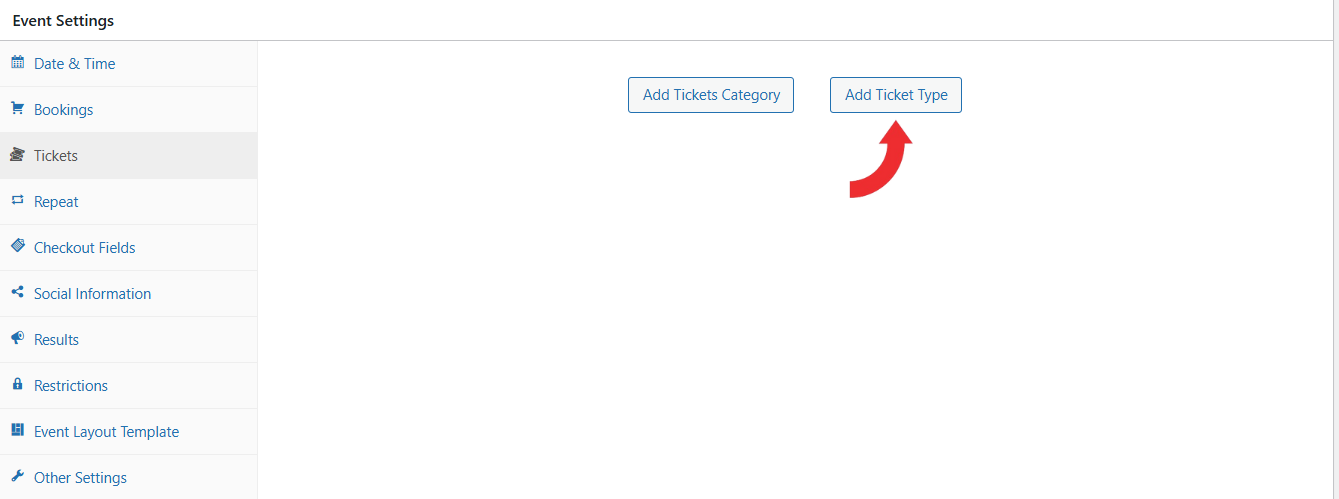
4. In the Tickets section, click the Add Ticket Type button to create a new ticket type. If you haven’t created a category yet, click the Add Ticket Category button. You can follow this guide to create a ticket category.
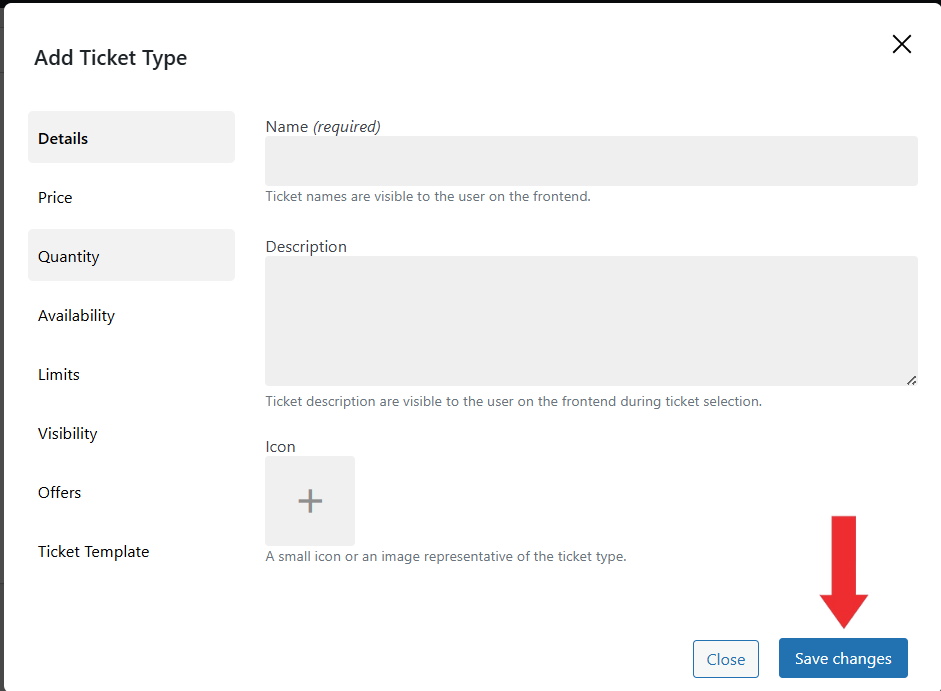
5. In the Add Ticket Type screen, configure the following settings:
- Details Tab – Enter the ticket Name, add a Description, and upload an Icon to represent the ticket visually on the frontend.
- Price Tab – Set the ticket Price and add any Additional Fees (e.g., meals or merchandise).
- Quantity Tab – Enter the total number of tickets available. Optionally, enable Display the number of tickets left on the event page by toggling it.
- Availability Tab – Set the Ticket Availability Period using one of the following:
- Custom Date – Enter a fixed start and end date/time.
- Event Date – Sync automatically with saved event start/end dates.
- Relative Date – Set availability relative to event dates (e.g., 2 days before start).
Optionally, enable Show tickets availability dates on the frontend.
- Limits Tab – Set the Minimum Tickets Per Order and Maximum Tickets Per Order to control purchase limits.
- Visibility Tab – Control who can see and purchase this ticket type:
- Public – Visible to all users.
- Registered Users – Only visible to logged-in users.
- Filtered by User Role – Visible to selected user roles.
For ineligible users, choose between Hide Tickets or Show as Disabled.
- Offers Tab – Add promotional offers or discounts. Choose how multiple offers are applied (Stack offers or Max Cumulative Discount).
- Ticket Template Tab – Select a ticket PDF layout (requires the Event Tickets extension).
Click Save Changes to add the ticket type.
6. Update the Event to apply the ticket type settings.
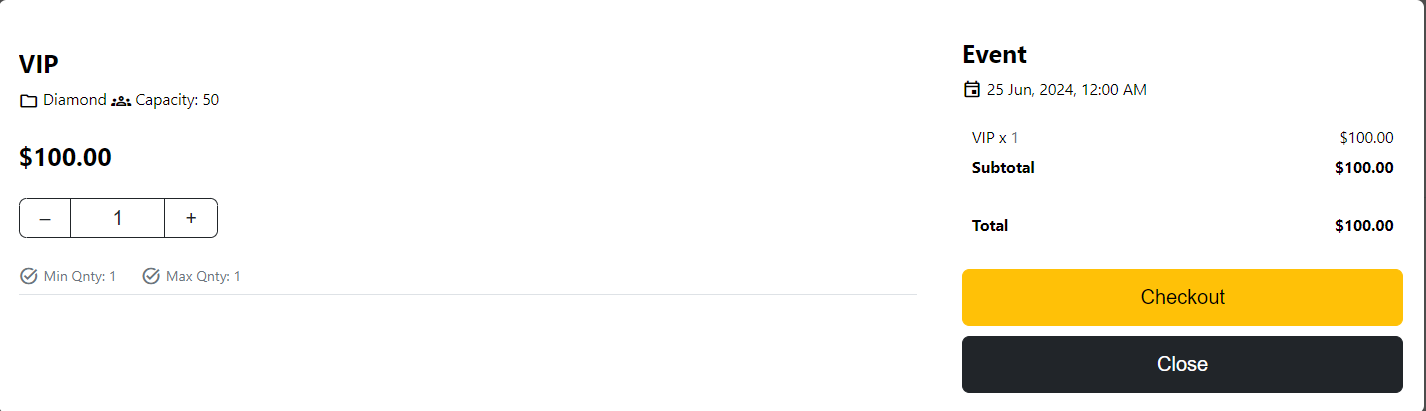
Frontend View
Once added, the ticket type will appear on the Event Booking page, showing the ticket name, description, price, availability, and any applicable charges or discounts.
Conclusion
Creating Ticket Types in EventPrime lets you manage pricing, access levels, visibility, discounts, fees, and other charges—giving you complete control to tailor ticketing to your Event.
Questions, Support & Custom Solutions
- Need more details or can't find what you're looking for? Let us know how we can help! Contact our support team here.
- Looking for a tailor-made solution to meet your specific needs? Our dedicated customization team is here to help! Use this link to share your requirements with us, and we'll collaborate with you to bring your vision to life.