
Overview
Organizers are responsible for planning, coordinating, and executing events to ensure everything runs smoothly. In this guide, we’ll walk you through the steps to add an Event Organizer to your WordPress events using EventPrime.
Steps To Add a New Organizer
To add WordPress Event Organizers, follow these steps:
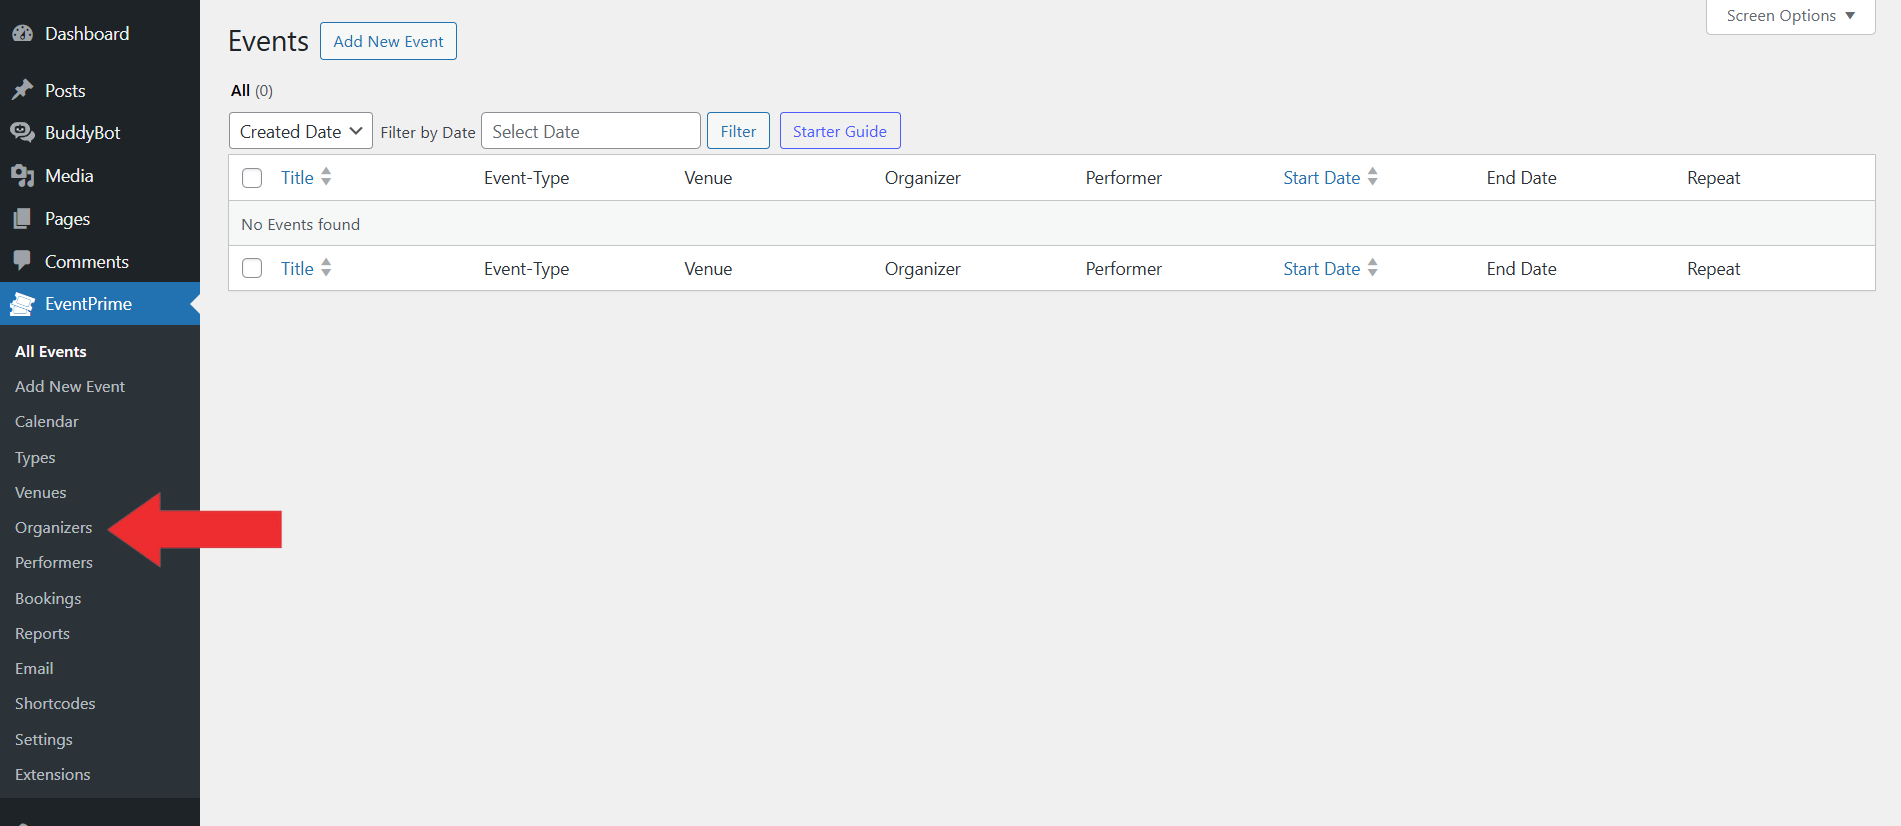
1. Open The EventPrime Menu and Choose Organizers
Navigate to the EventPrime menu on your WordPress Dashboard and click on the Organizers.
2. Enter the Details on the Organizers Page
Enter specific details to define the Event Organizers you want to add to your Events.
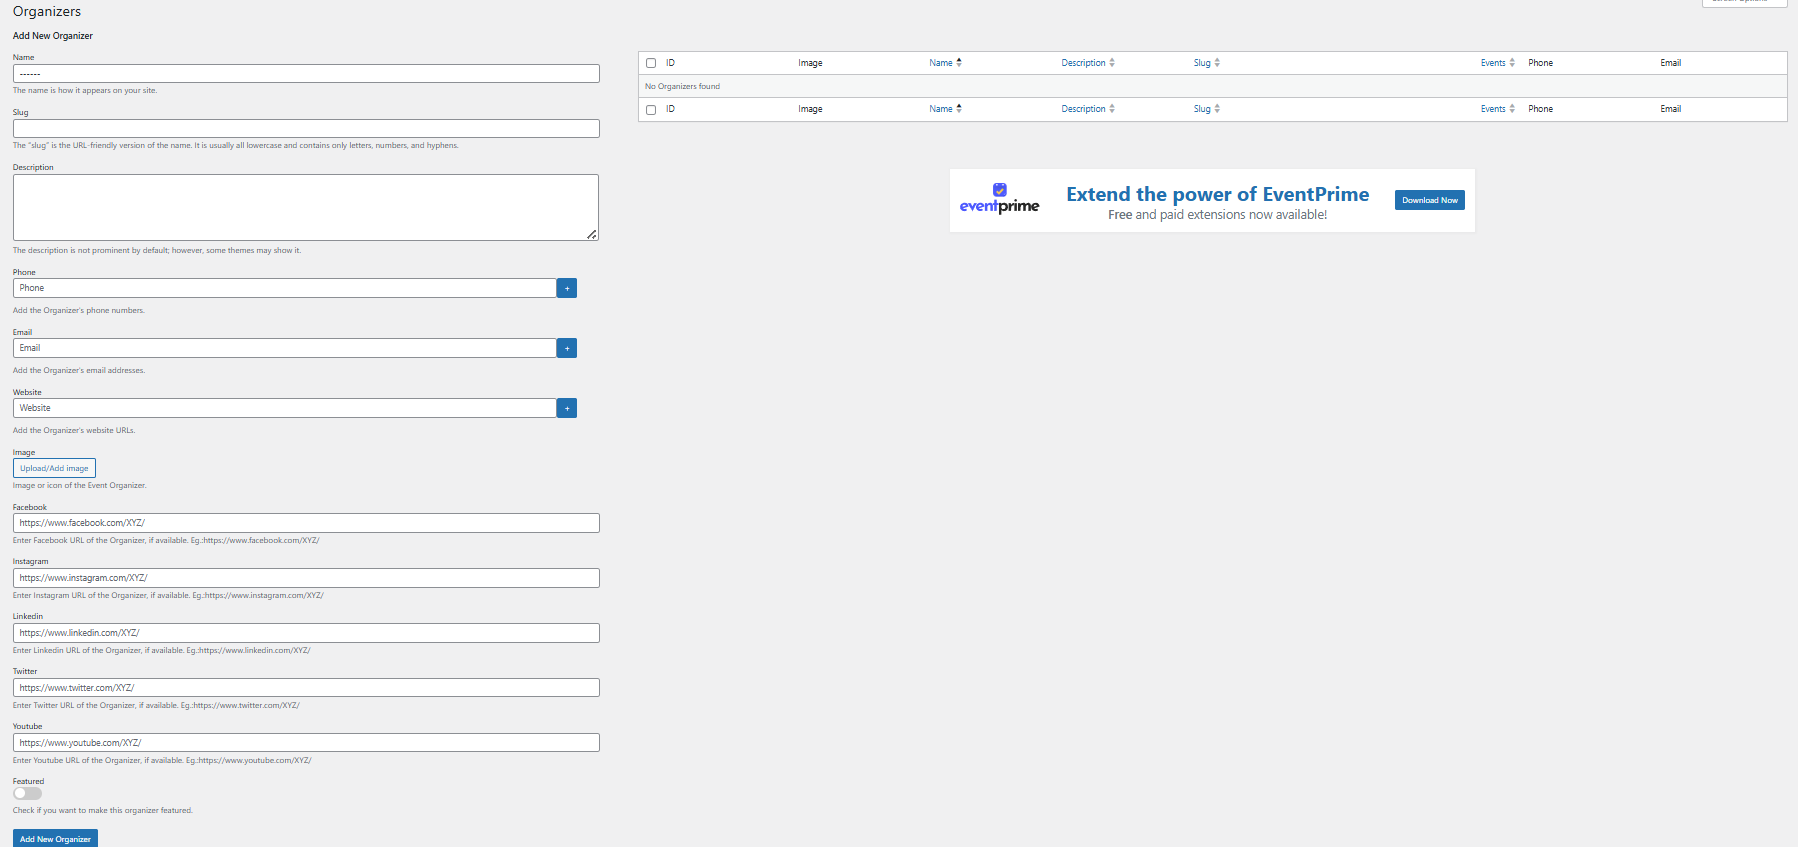
Name: Provide a descriptive name for the Event Organizer to ensure users can easily recognize and categorize it.
Slug: Define a URL-friendly version of the Event Organizer name. The slug appears in the web address and should be lowercase with hyphens (e.g., joe-smith) for readability and consistency.
Description: Provide a concise yet informative description to give users context about the Organizers under this category.
Phone Number: Enter the phone number of the Organizer.
Email: Enter the email address of the Organizer.
Website: Enter the website of the Organizer.
Social Media Integration: EventPrime allows you to add social media profiles for the organizer. Linking platforms like Facebook, Twitter, Instagram, or LinkedIn helps attendees connect, follow updates, and learn more about the Organizer‘s background and credibility.
Featured: Enable this option if you want the Event Organizer to stand out on the frontend. Featured types are given special visual emphasis and are more likely to attract user attention.
3. Click Add New Organizers
Once you’ve entered all the required details, click the Add New Organizer button at the bottom of the screen to save your new Event Organizer.
Frontend View
On the Event Organizers page, each Organizer displays its assigned label, including the organizer’s name and any associated image.

Conclusion
Well done! Your Event Organizer has been added successfully. Organizers can now be linked to events, streamlining management, building trust with attendees, and giving each event a more polished and credible presentation.
Questions, Support & Custom Solutions
- Need more details or can't find what you're looking for? Let us know how we can help! Contact our support team here.
- Looking for a tailor-made solution to meet your specific needs? Our dedicated customization team is here to help! Use this link to share your requirements with us, and we'll collaborate with you to bring your vision to life.
Hi,
On my website I already have a section with all the organizers.
Can´t I make a link going to the specific page of the organizer that already exists?
Thanks for reaching out to us.
Yes, it’s absolutely possible to link directly to a specific organizer’s page. EventPrime allows for flexible layout options. Simply go to EventPrime → Settings → General → Setup, and under the Layout Template setting, you can select a custom template for all frontend views, including organizer pages.
If you have any further questions, please don’t hesitate to reach out to us.
Then you would first have to create an additional layout. Where is it described how to create layouts for the front end, tickets and invoices? Unfortunately, I cannot find anything about this.
You can customize the frontend layout of all EventPrime-generated pages using our newly introduced “Layout Template” option under “Settings > General”. To do this, please follow these steps: