Overview
EventPrime Attendee Certificates extension allows you to create certificate templates for your Events and assign them to Ticket types. Certificate templates support EventPrime shortcodes, so attendee and Event details are automatically added to the certificate.
Certificates can be sent to attendees by email based on your Event configuration, such as after Booking or after the Event ends. Attendees can also view the certificate from the frontend using the certificate icon, and can print or download it directly.
Prerequisite
Along with the EventPrime plugin, the Attendee Certificate extension must be installed and activated to use this feature. The extension can be accessed from the following link: Get Your Attendee Certificate Extension
How to Use Attendee Certificate in EventPrime
Step 1: Open Certificates Extension Settings
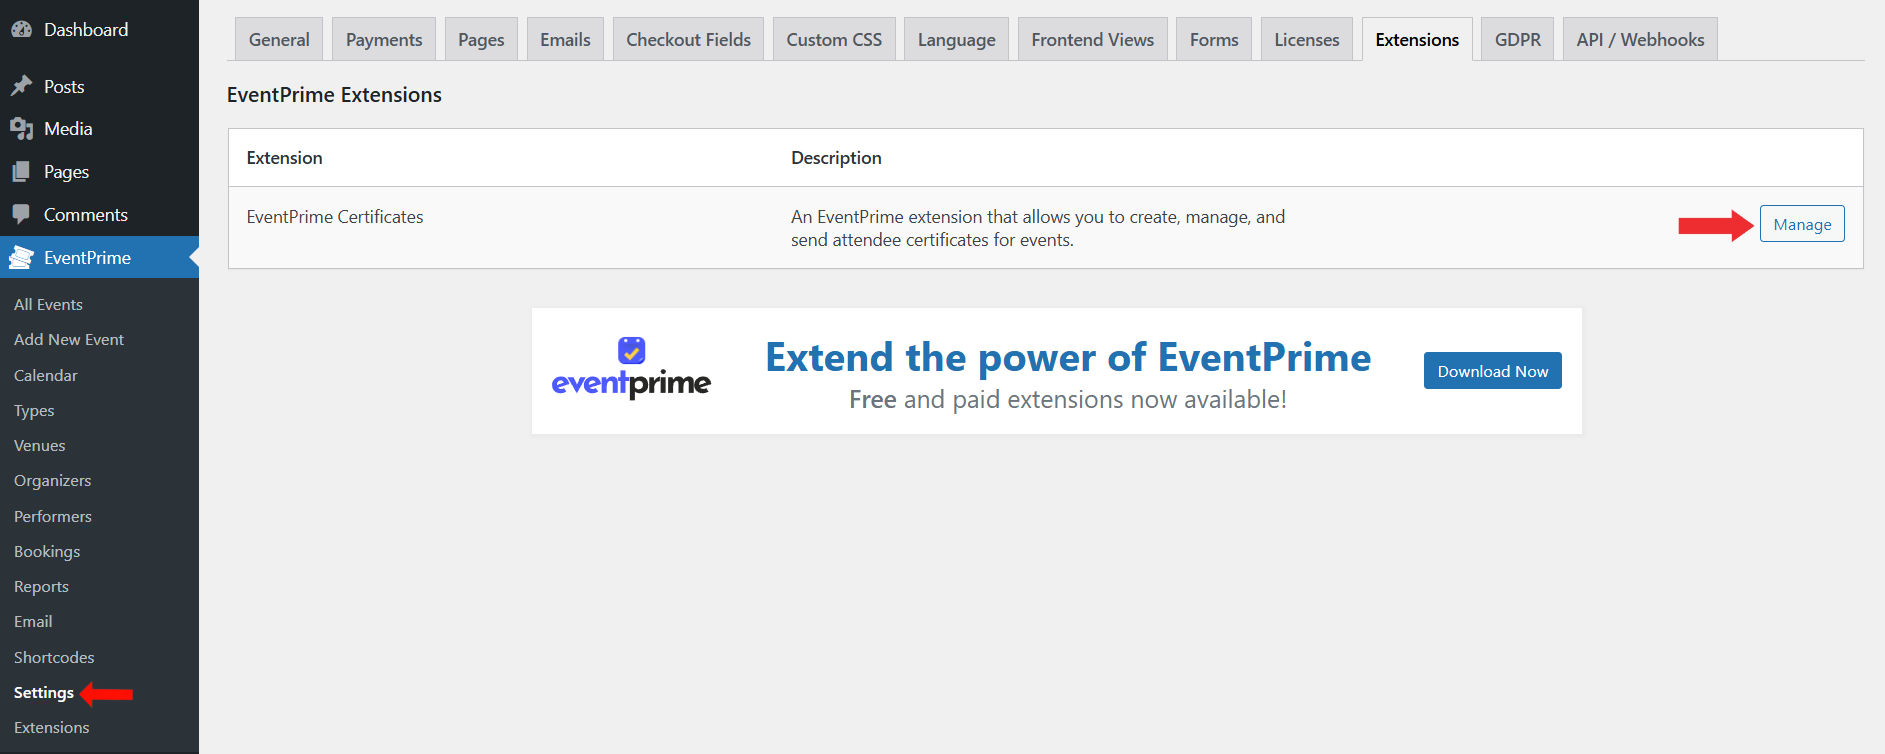
- Navigate to EventPrime menu and select Settings submenu.
- Open the Extensions tab.
- Locate EventPrime Certificates and click the Manage button.
Step 2: Enable Certificates for Events
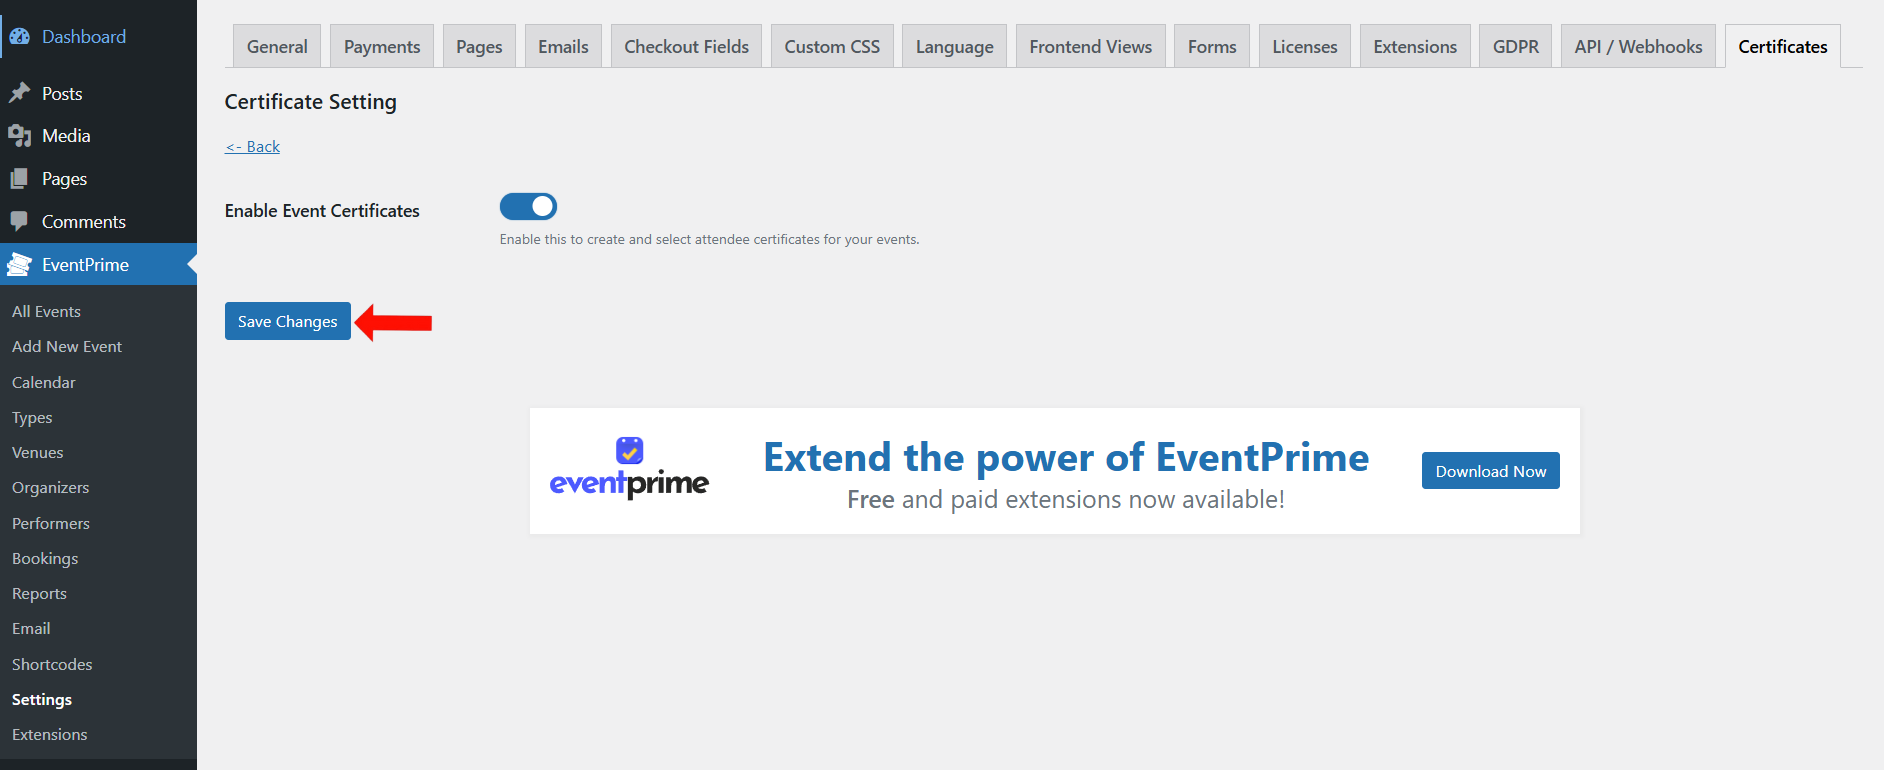
- On the Certificate Setting page, enable the Enable Event Certificates option.
- Click Save Changes button.
Step 3: Create a Certificate Template
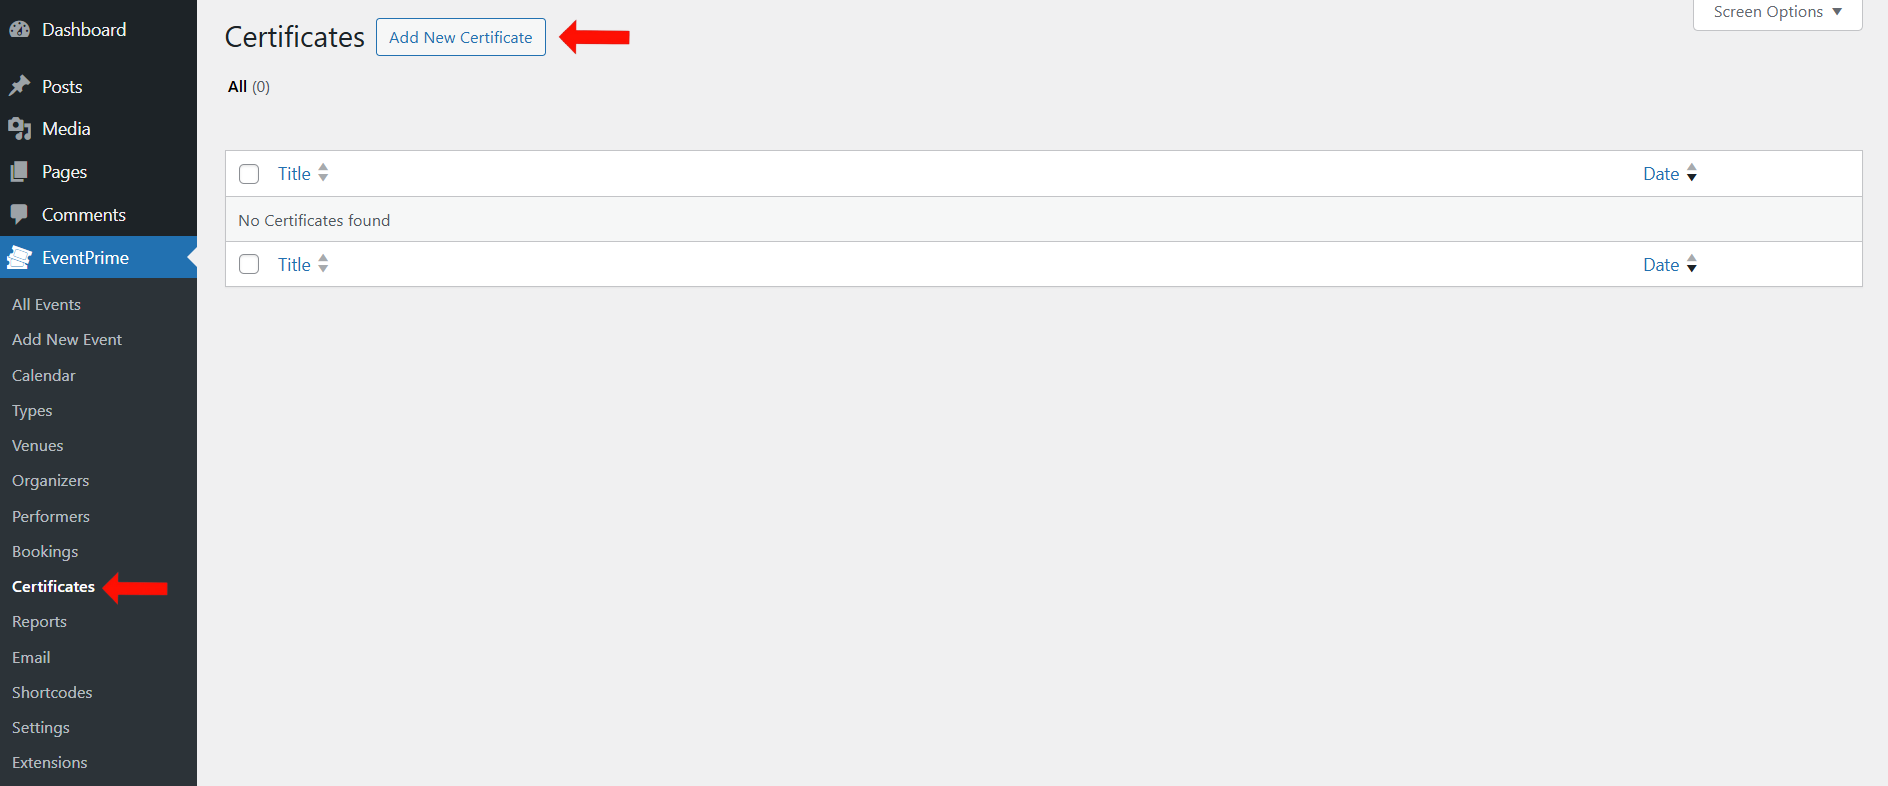
- Navigate to EventPrime menu and select Certificates submenu.
- To create a new certificate template, click the Add New Certificate button.
Step 4: Design and Edit the Certificate Template
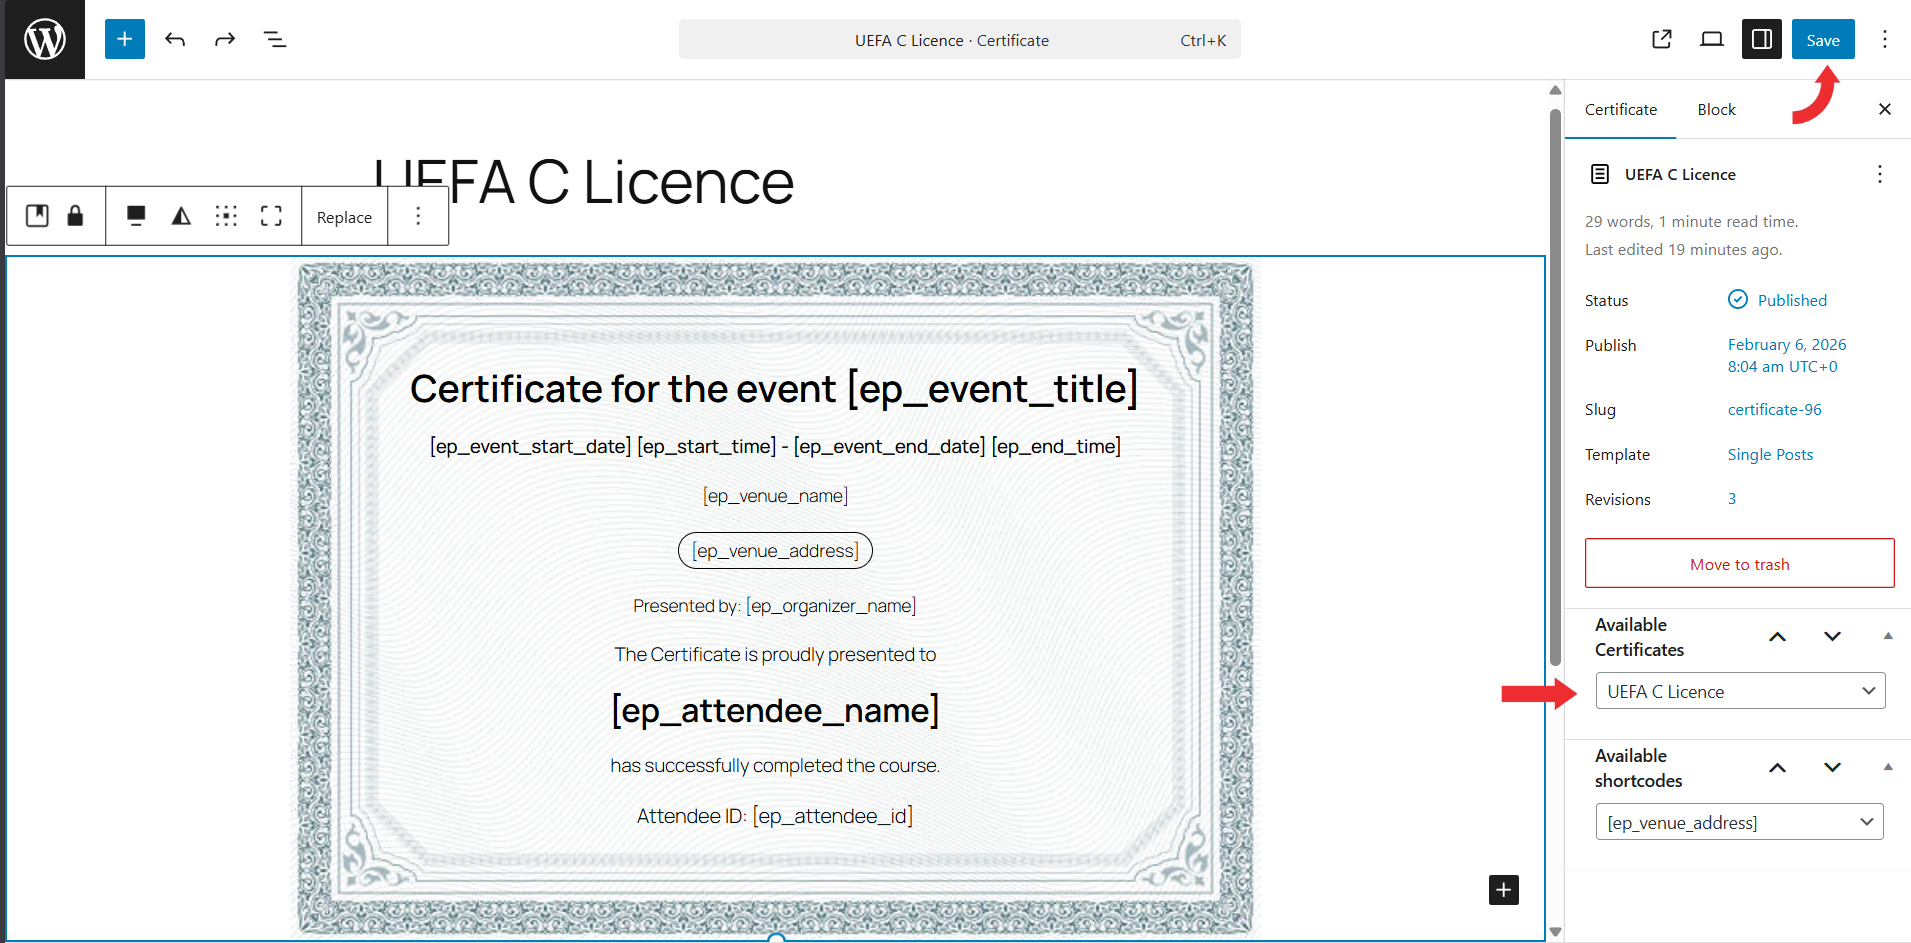
After clicking Add New Certificate, the certificate editor opens where you can design the certificate layout.
- In the editor canvas, click the certificate area to select the Certificate block. Once selected, you can use the block toolbar and editor controls to adjust the layout and formatting as required.
- To change the certificate background or cover image, select the image inside the certificate block and use the Replace option to upload a new image or choose one from the Media Library.
- From the right-side panel, open the Certificate Settings. Under Available Certificates, select the certificate template you want to use. This lets you load and work with an already created certificate design.
- Use the block settings to control the certificate appearance such as height, width, spacing, and alignment. You can adjust these settings to position text and elements correctly on the certificate.
- To insert dynamic Event and attendee information, use the Available Shortcodes section in the right panel and place the required shortcodes into the certificate content. Common shortcodes include:
[ep_event_title][ep_attendee_name][ep_event_start_date][ep_event_end_date][ep_venue_name][ep_venue_address]
When your design is complete, click Save to store the certificate template.
Step 5: Select the Event for Editing
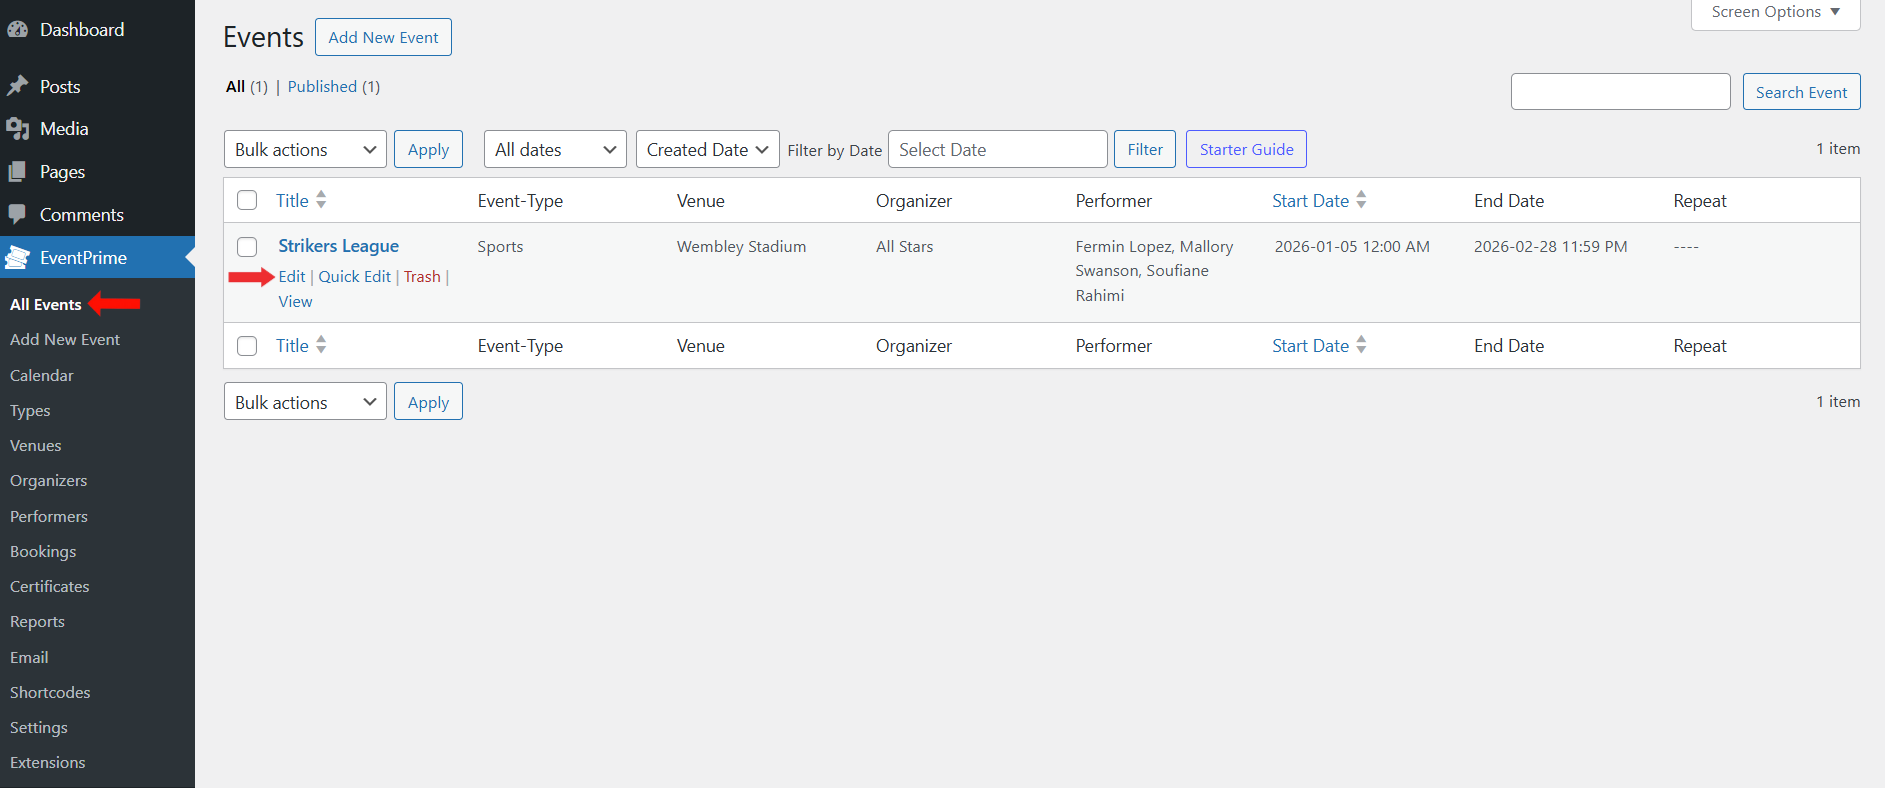
- Navigate to EventPrime menu and select All Events submenu.
- Click the Edit button for the event where you want to assign the certificate.
Step 6: Configure Attendee Certificate Settings for the Event
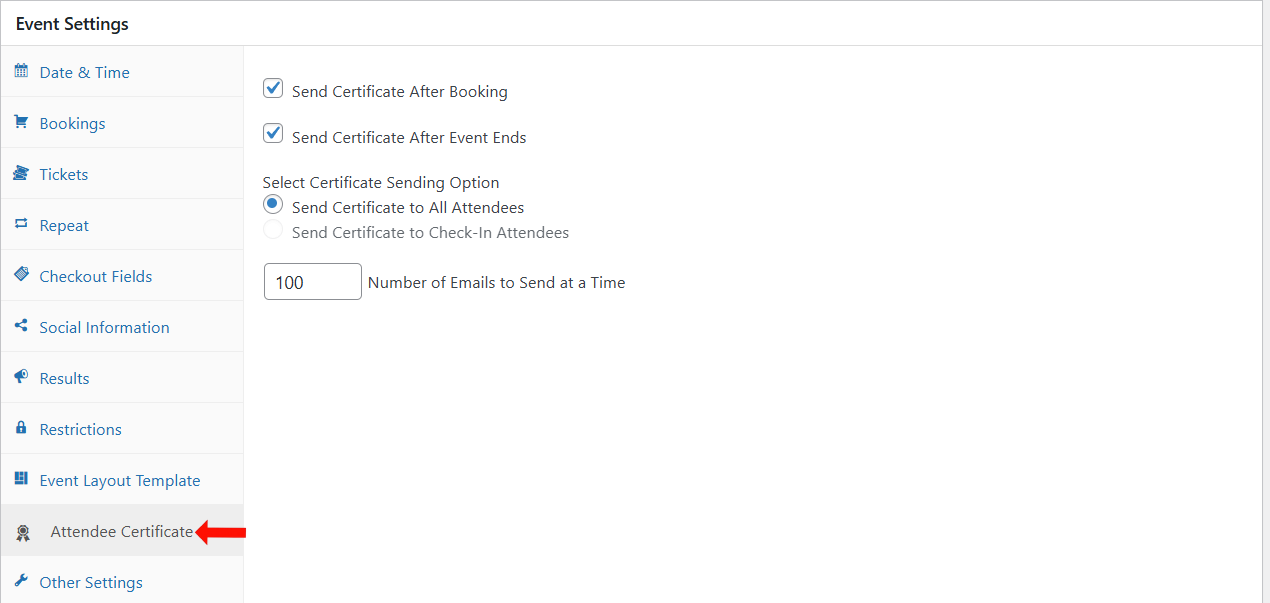
On the Edit Event page, go to the Event Settings metabox and open the Attendee Certificate tab.
Configure the following options as required:
- Send Certificate After Booking
Enable this option to send the certificate email immediately after an attendee completes the Booking. - Send Certificate After Event Ends
Enable this option to send the certificate email only after the Event end date has passed.
Next, configure the certificate delivery rules:
- Send Certificate to All Attendees
Sends certificates to all attendees who booked Tickets for the Event. - Send Certificate to Check-In Attendees ( Works with Attendee Check-in Extension)
Sends certificates only to attendees who are checked-in for the Event. - Number of Emails to Send at a Time
Defines how many certificate emails are sent in one batch.
Step 7: Open Ticket Type Settings
On the Edit Event page, go to the Event Settings metabox and open the Tickets tab.
- To create a new Ticket type, click the Add Ticket Type button.
- To assign a certificate to an existing Ticket type, click the Edit button for the Ticket.

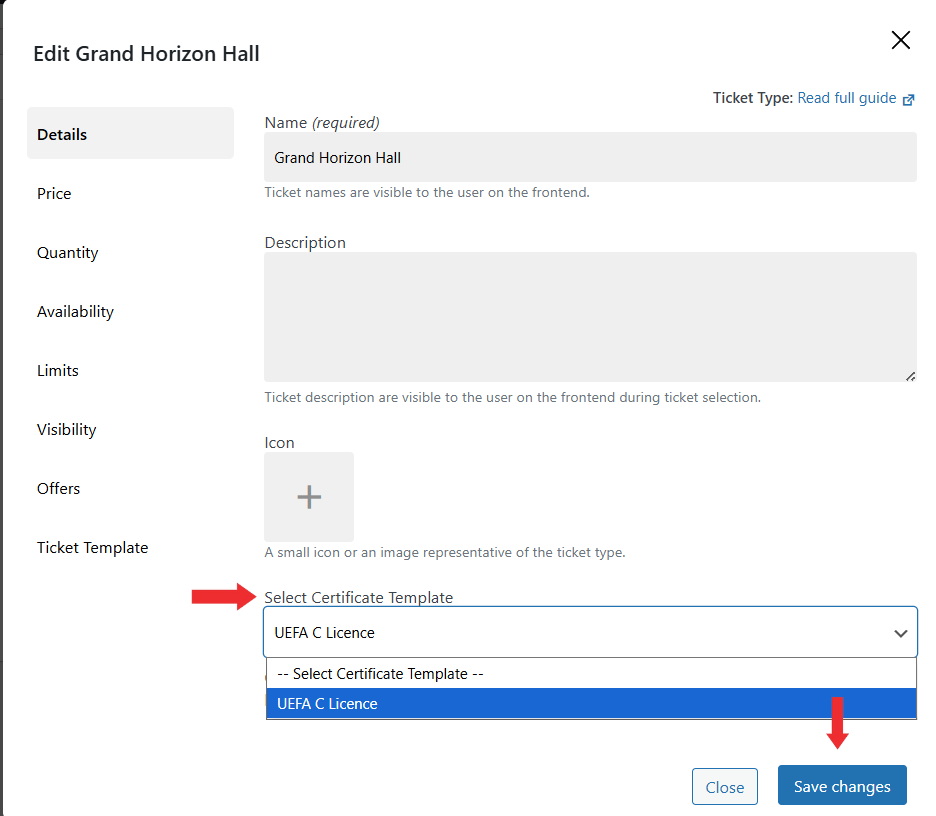
Step 8: Assign the Certificate Template to the Ticket Type
- In the Ticket Settings popup, locate the Select Certificate Template option.
- Select the certificate template you want to assign to this Ticket type from the dropdown.
- Click Save changes to apply the Ticket settings.
After assigning the certificate template, Update the Event to apply all the certificate settings.
Frontend View
On the frontend, once the user completes the Booking, the certificate icon appears on the Booking Details page inside the Attendee Details section. A separate certificate icon is available for each attendee.
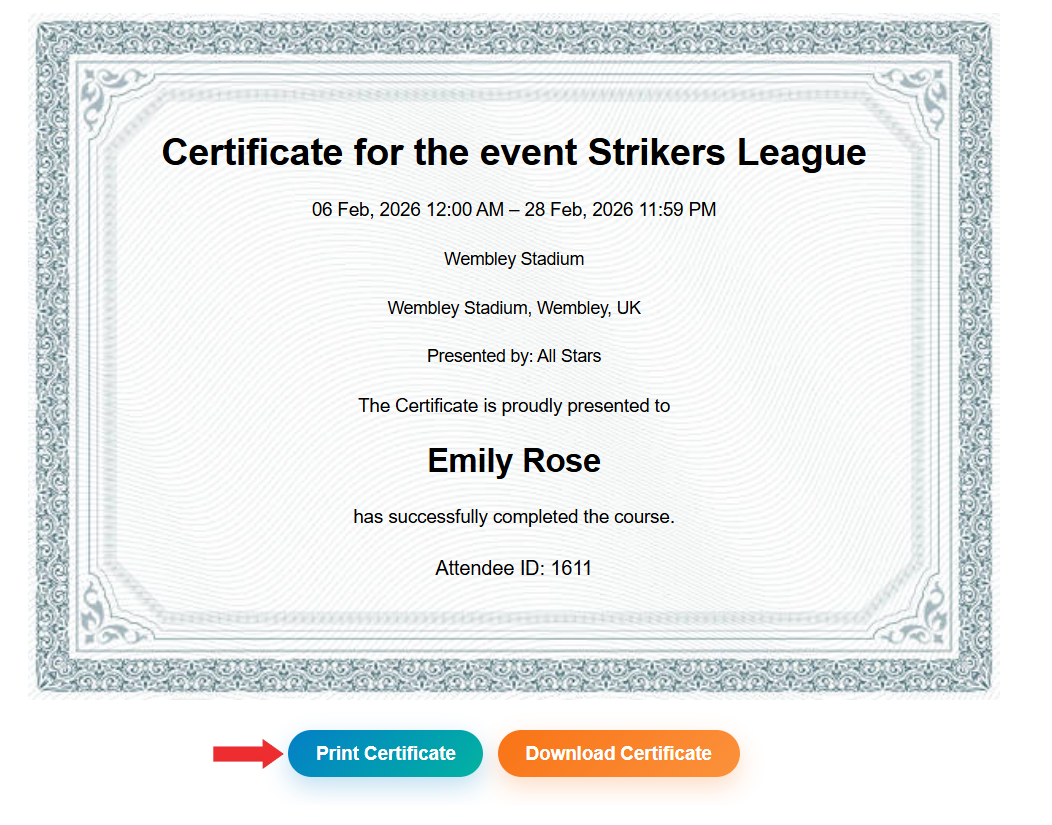
When the attendee clicks the certificate icon, it opens the Certificate Preview page where the attendee can view the certificate and can Print or Download it.
Conclusion
The EventPrime Attendee Certificates extension allows you to create certificate templates and assign them to Ticket types. Certificates can be automatically sent to attendees by email based on Event settings. Attendees can also access their certificates from the frontend booking area and can Print or Download them directly.
Questions, Support & Custom Solutions
- Need more details or can't find what you're looking for? Let us know how we can help! Contact our support team here.
- Looking for a tailor-made solution to meet your specific needs? Our dedicated customization team is here to help! Use this link to share your requirements with us, and we'll collaborate with you to bring your vision to life.