
Overview
EventPrime allows you to add special offers to Event tickets, such as early-bird discounts, role-based offers, or volume-based promotions. These offers appear on the Event page and apply during ticket booking.
Steps to Add Offers to WordPress Events
1. Navigate to the EventPrime menu and select the All Events submenu.
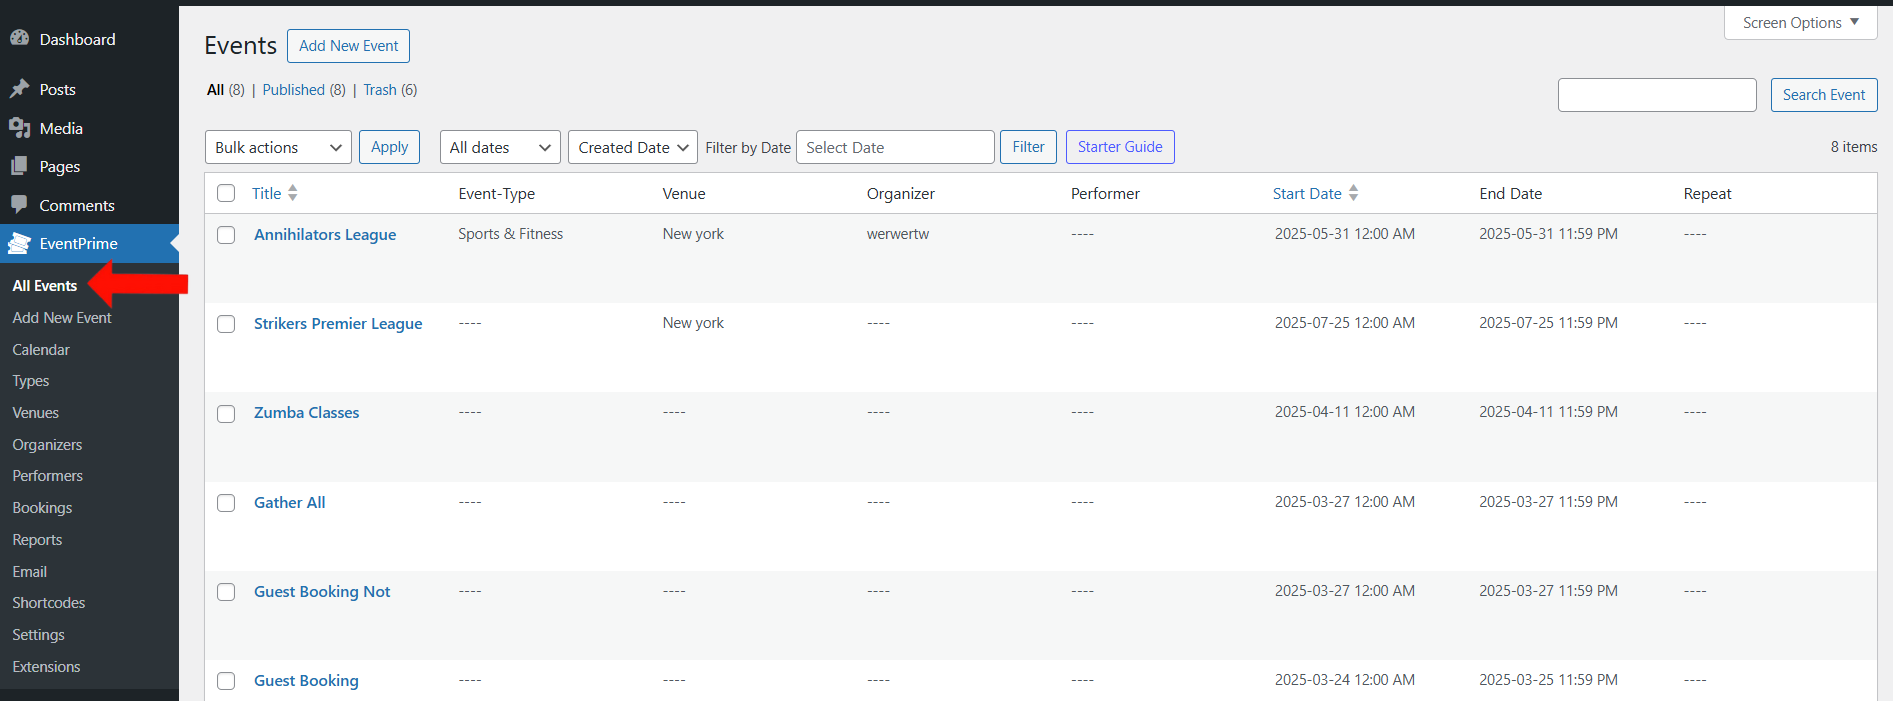
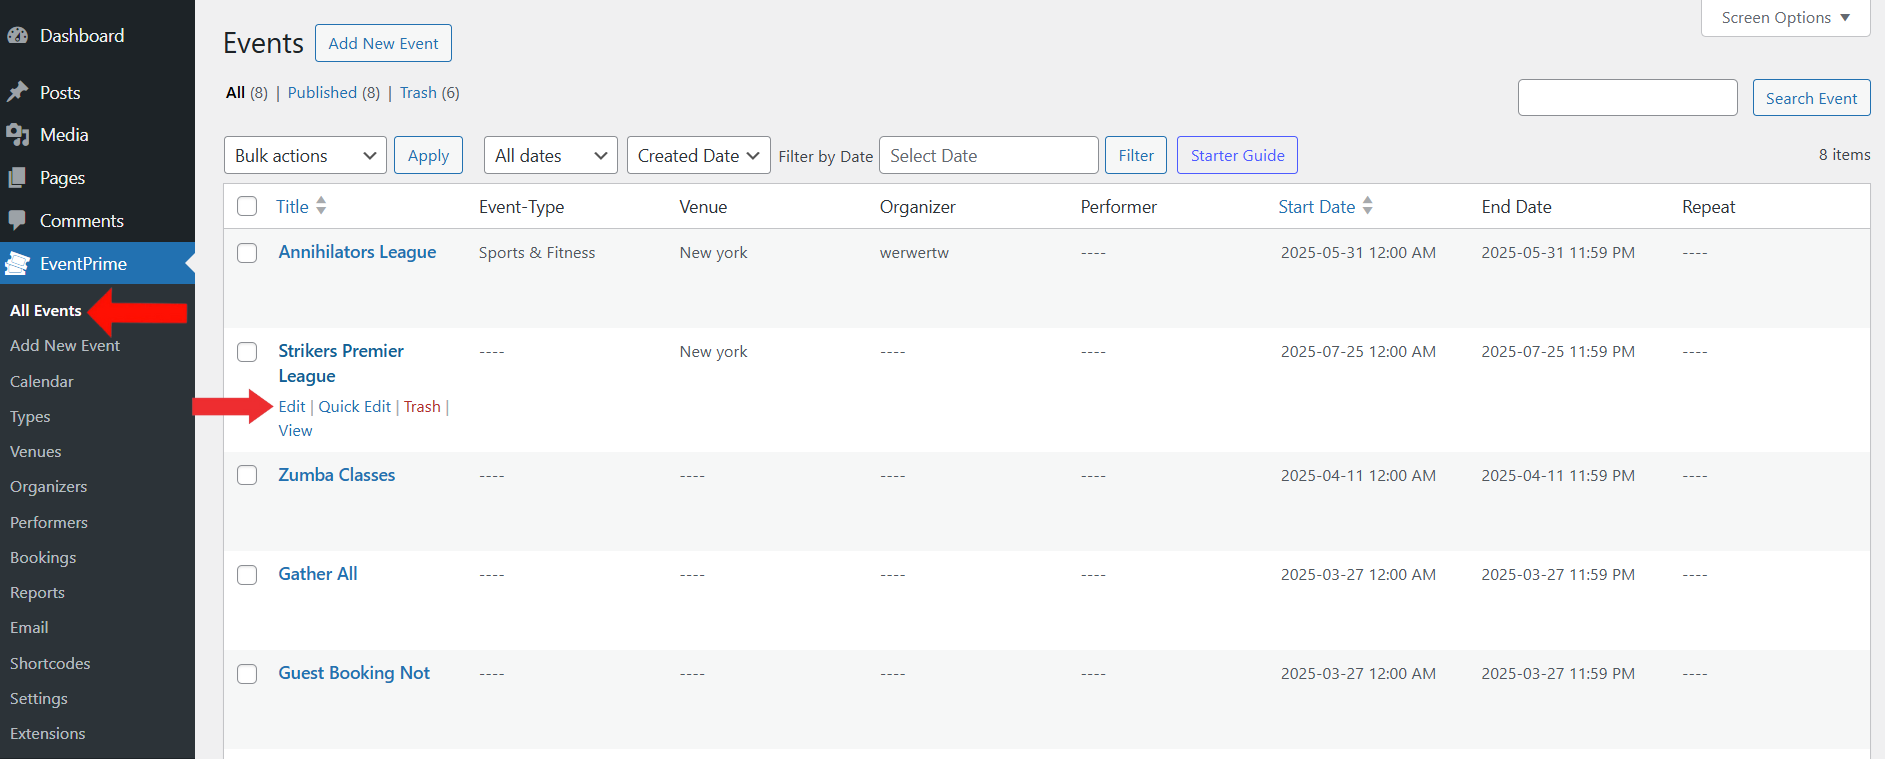
2. In the list of Events, click the Edit button for the Event to which you want to apply the offer.
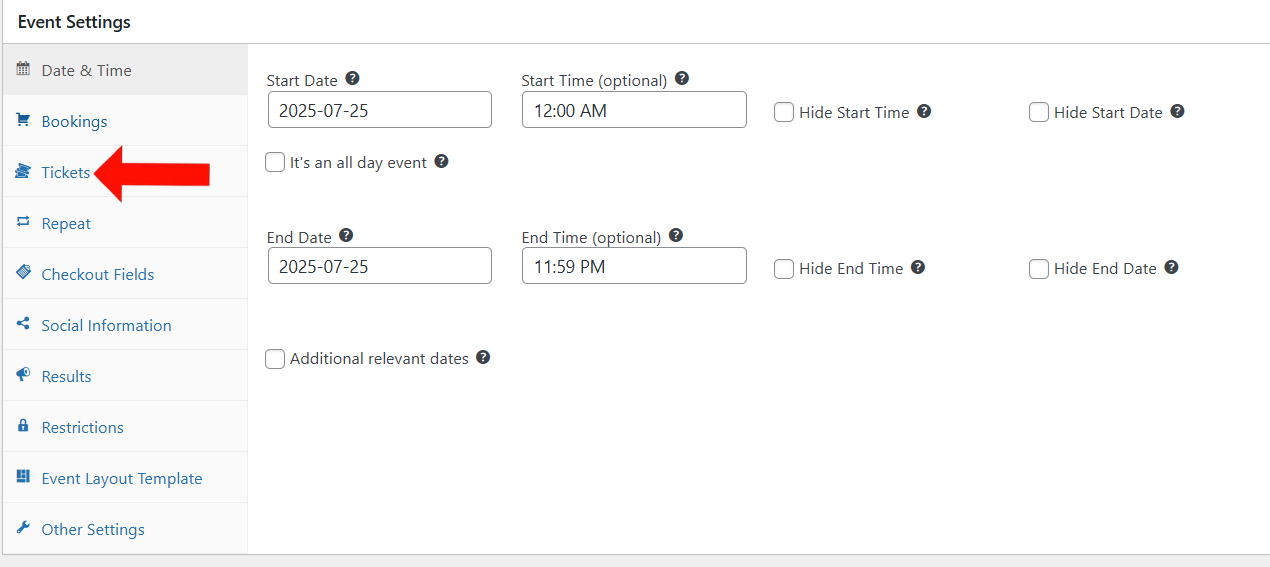
3. On the Edit Event page, scroll to Event Settings and click on the Tickets tab.
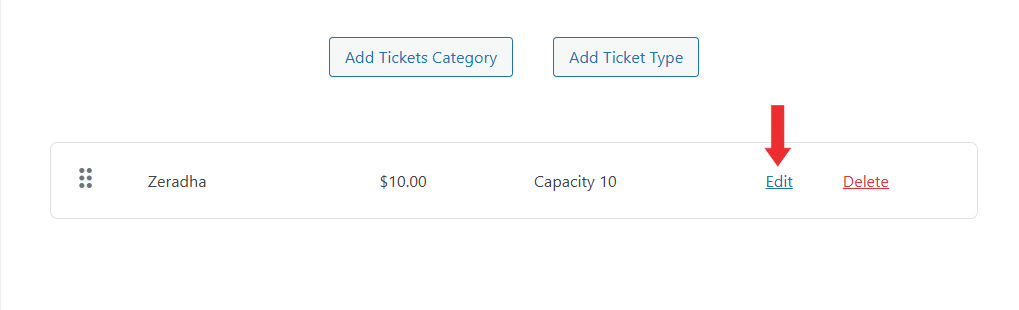
4. In the Tickets section, either click Add Ticket Type button to create a new ticket, or click the Edit button to modify an existing one.
If you haven’t created a ticket category yet, follow this guide to get started: How to Create Ticket Categories for WordPress Events
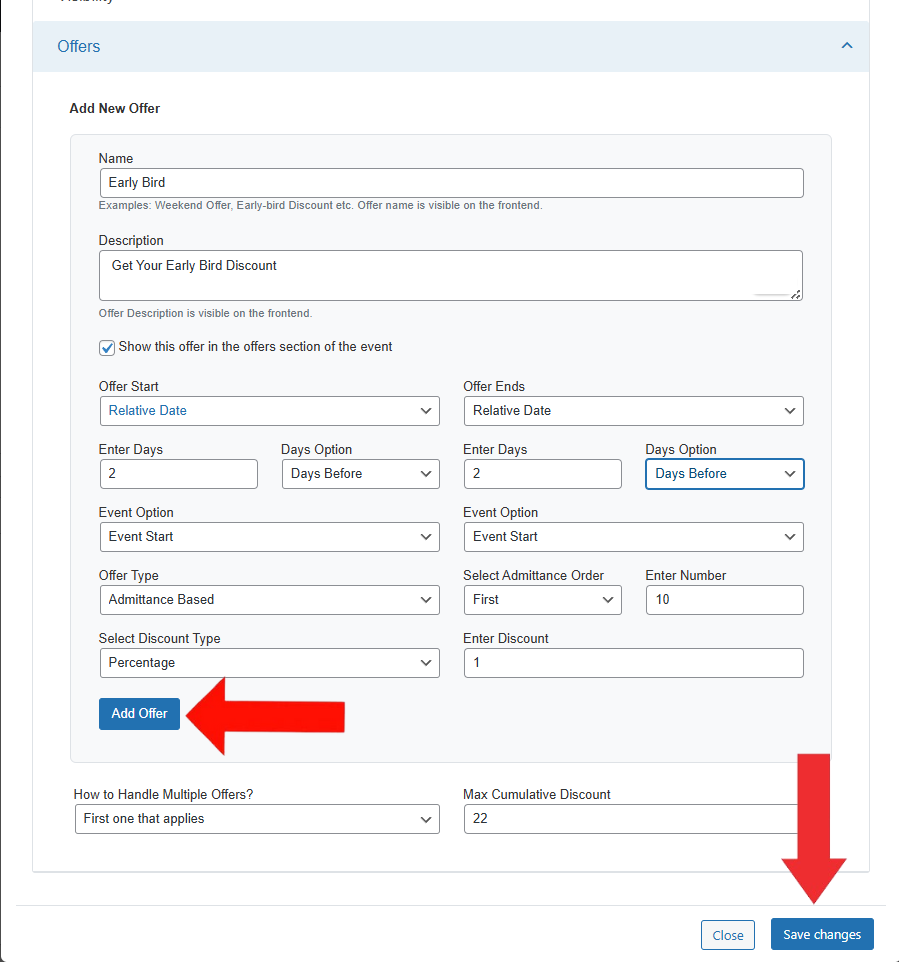
5. On the Edit Ticket screen, scroll down to the Offers section. Enter the following details:
- Name & Description: Add a name and brief description for the offer. These will appear on the Event page if enabled.
- Show Offer on Event Page: Check the box labeled Show this offer in the offers section of the event if you’d like it to be visible on the Event’s frontend page.
- Set the Offer Start and Offer Ends date. You can choose from:
- Event Date – Automatically aligns the offer with the Event start and end date.
- Custom Date – Manually select start and end dates for the offer.
- Relative Date – Set it to begin or end a specific number of days before or after the Event.
- Choose the Offer type:
- Admittance-Based – Applies to a specific number of first or last tickets sold.
- User Role-Based – Target offers for specific WordPress user roles (e.g., Subscriber, Editor).
- Volume-Based – Applies when a user books a minimum number of tickets.
- Discount Type: Choose whether the discount is a fixed amount (Flat) or a percentage (Percentage) and specify the discount value accordingly.
- Under Multiple Offers Handling, select whether to stack offers or apply only the first valid one.
- Set the Maximum Cumulative Discount limit if needed. This sets the maximum discount amount allowed—no discount can go over this amount.
Once all offer details are added, click the Add Offer button to attach it to the selected ticket type.
Click the Save Changes button to apply the offer to the ticket.
6. After saving the ticket, click Update on the Edit Event page to apply all changes.
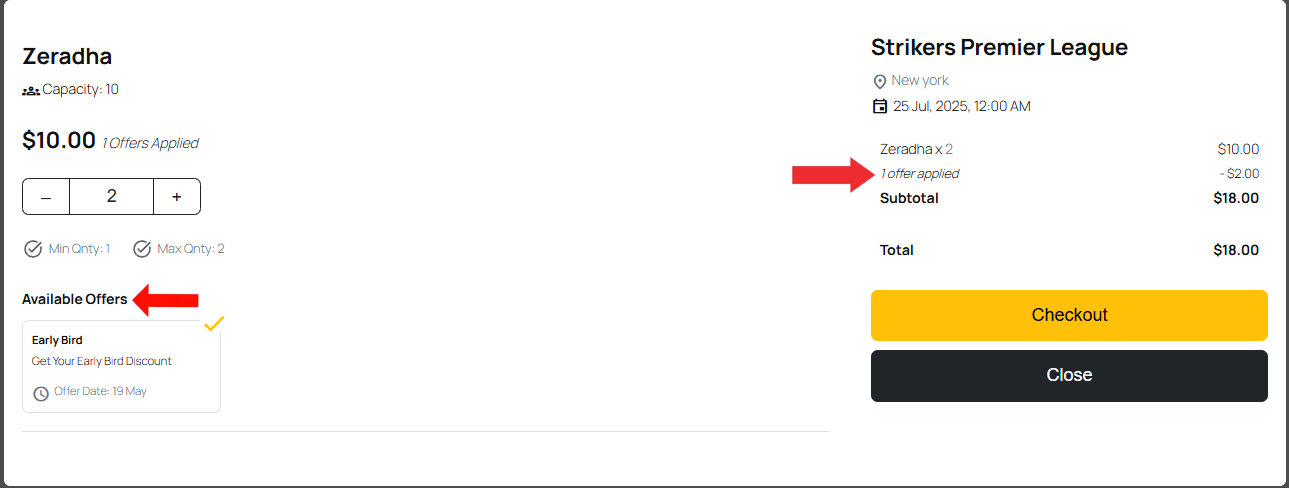
Frontend View
On the Event Booking page, users can see available offers right below the ticket details. Each offer shows its name, a short description, and the date it becomes active.
If the selected tickets match the offer rules, the discount is applied automatically. Users will see the discount in the booking summary on the right side, along with the number of offers applied and the updated total.
Conclusion
Ticket Offers in EventPrime let you add limited-time discounts, early booking deals, and special prices for certain users. You can set these offers directly in the ticket settings, making it easy to manage different pricing options for your Events.
Questions, Support & Custom Solutions
- Need more details or can't find what you're looking for? Let us know how we can help! Contact our support team here.
- Looking for a tailor-made solution to meet your specific needs? Our dedicated customization team is here to help! Use this link to share your requirements with us, and we'll collaborate with you to bring your vision to life.