
Overview
Venues are an important part of any Event. Adding them helps your visitors know exactly where the Event will take place, along with helpful details like the address, seating type, social media links, maps, and more. With EventPrime, you can add complete Venue profiles that make your Events look more organized and easier to follow for attendees.
Steps to Add Venue for Your Events
1. Navigate to EventPrime menu, and click on Venues submenu.
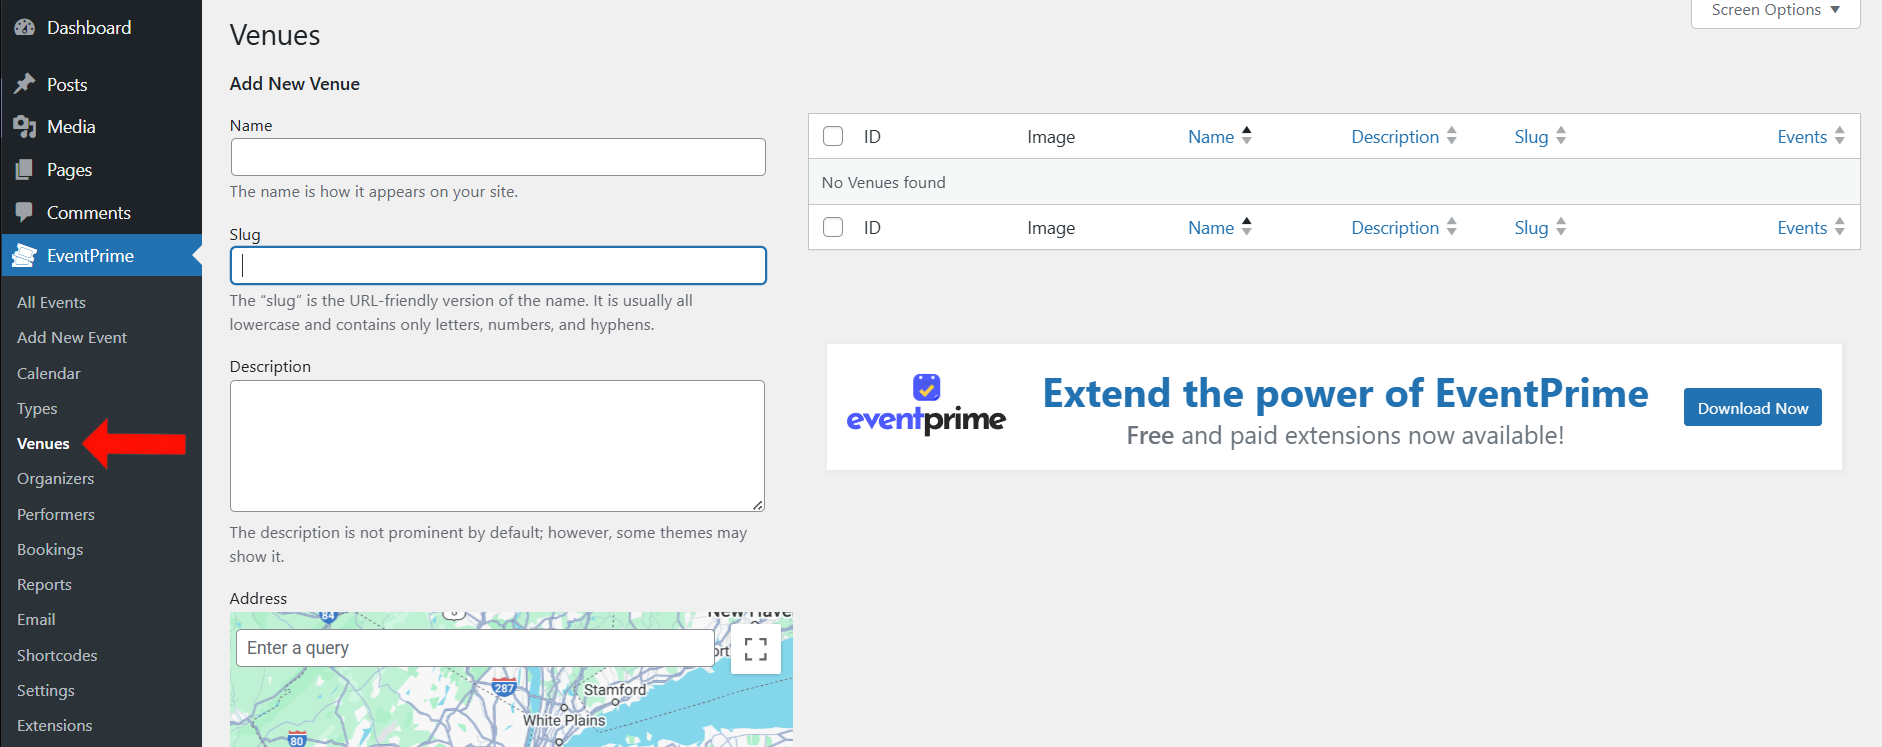
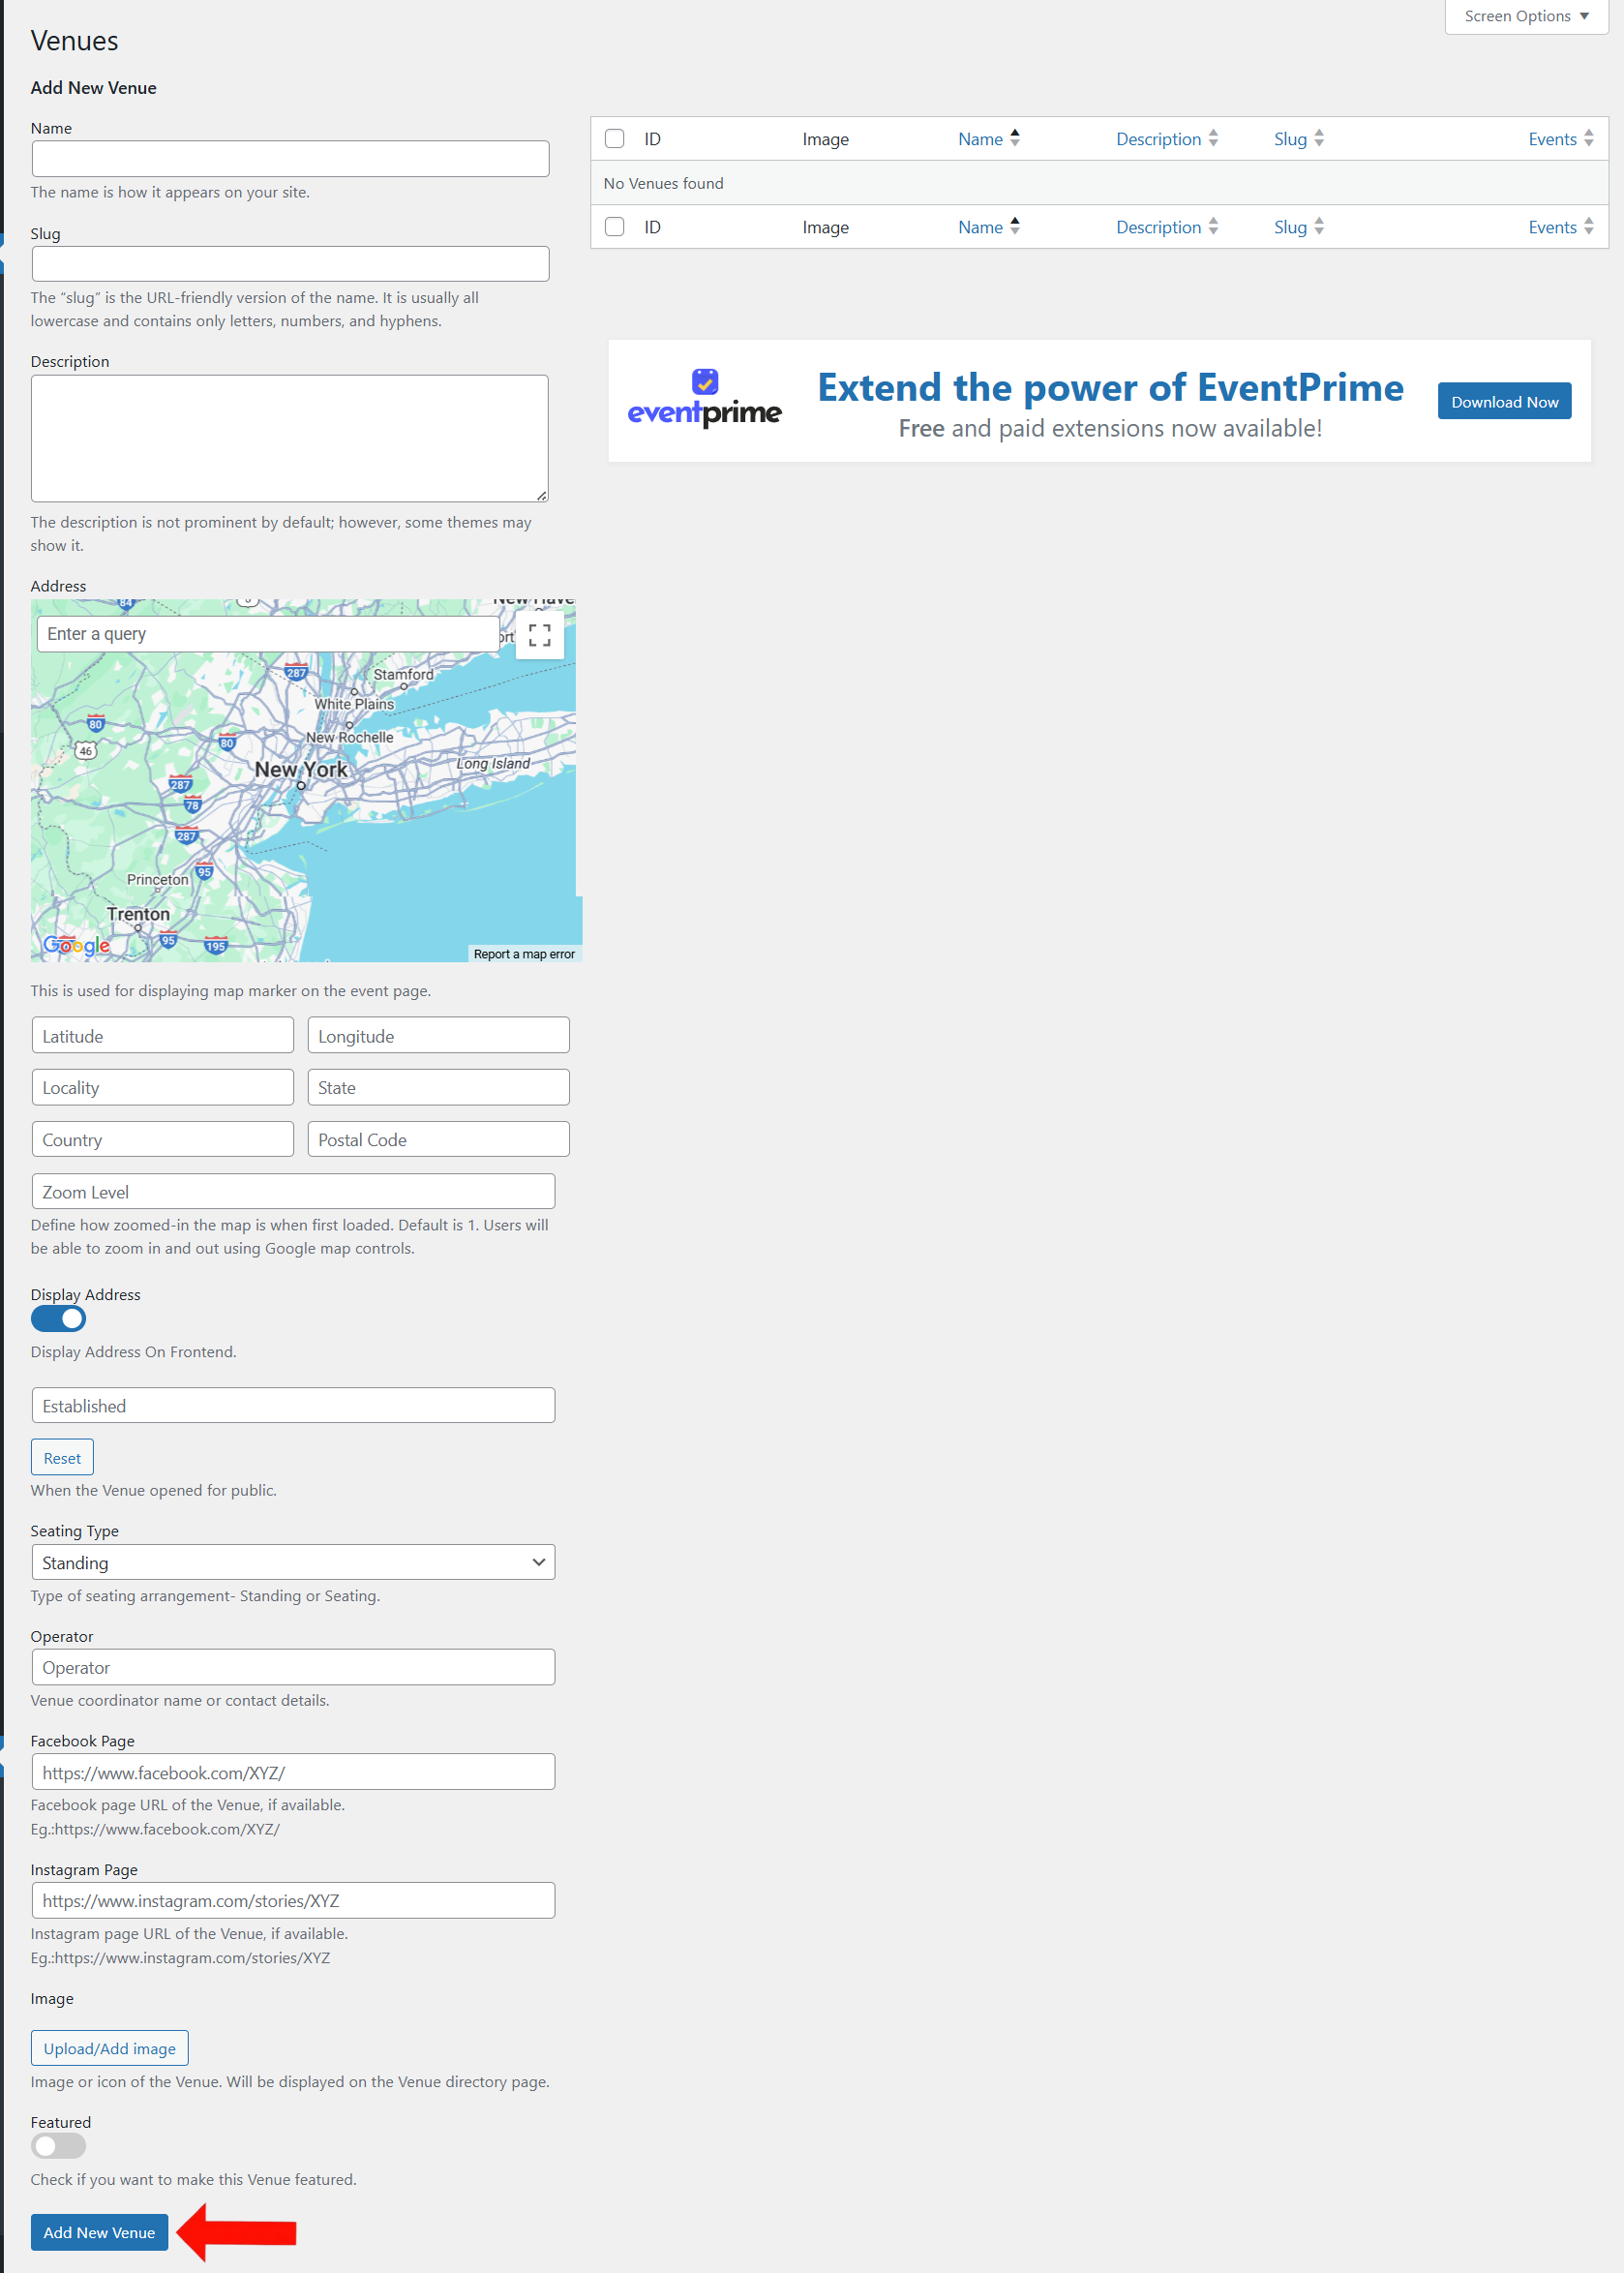
2. On the Add New Venue page, enter the following details:
- Name: Title of your Venue that will appear on the frontend.
- Slug: A URL-friendly version of the name (used in the link for your Venue).
- Description: Provide details and a description of your Venue.
- Address: Use the embedded map to pinpoint the location. You can also enter following details:
- Latitude and Longitude.
- Locality, State, Country, and Postal Code.
- Set Zoom Level to adjust map view.
- Display Address: Enable this to show the address on the frontend Event Details page.
- Established: Select the date when the Venue was founded.
- Seating Type: Choose between Standing or Seating. For seating arrangements, use the Live Seating extension—refer to this article for details: How to Use Live Seating Extension in EventPrime
- Operator: Enter name or contact of the Venue manager.
- Facebook Page: Paste the URL of the Venue’s official Facebook page (if available).
- Instagram Page: Paste the Instagram URL of the Venue (if available).
- Image: Upload a featured image or logo for the Venue.
- Featured: Check this if you want to highlight this Venue on listings.
Once all details are filled in, click the Add New Venue button to save your Venue.
Frontend Display
Once saved, your Venue will appear on the frontend with the map, description, contact info, and social media links (if added). If Display Address is enabled, the location for your Venue will be shown clearly to your visitors.

Conclusion
Adding Venues in EventPrime is quick and easy. It allows you to create detailed Venue profiles that include location, contact information, seating type, and more—all in one place. This feature helps your attendees access more information about the Venue, improving transparency for your Event.
Questions, Support & Custom Solutions
- Need more details or can't find what you're looking for? Let us know how we can help! Contact our support team here.
- Looking for a tailor-made solution to meet your specific needs? Our dedicated customization team is here to help! Use this link to share your requirements with us, and we'll collaborate with you to bring your vision to life.
Hi,
Unfortunately, this is not available to the Editor role. It only works for the Administrator.
Thank you for reaching out.
To allow users with to add and manage events without providing them full administrator access, we recommend using the EventPrime Sponsors extension. This extension includes a role, EP Sponsor, which enables users to manage events while keeping their permissions separate from full administrative access.
For more information please visit the following link:https://theeventprime.com/all-extensions/event-sponsors/
If you have any further questions, please don’t hesitate to reach out to us.
Sorry, is there a way to group places with categories?
Hi Giovanna,
Currently, the functionality to group venues based on event types is unavailable.
However, our team has taken note of your request and will evaluate its feasibility for potential inclusion in an upcoming release.
Upon deployment the feature will be highlighted in our ORG’s changelog, we encourage you to stay tuned for future updates.