
Overview
The RSVP extension in EventPrime allows you to create invitation-based Events. You can mark specific Events as “Invite Only,” send personalized invitations, track attendance through RSVP responses, and view attendee status—all from the WordPress dashboard.
Prerequisite
To use this feature, the RSVP extension must be installed and activated on your website.
If the plugin is not yet installed, you can purchase and download it from the EventPrime website:
Get RSVP Extension for EventPrime
Once downloaded and activated, proceed with the following steps.
Steps to Use RSVP Extension
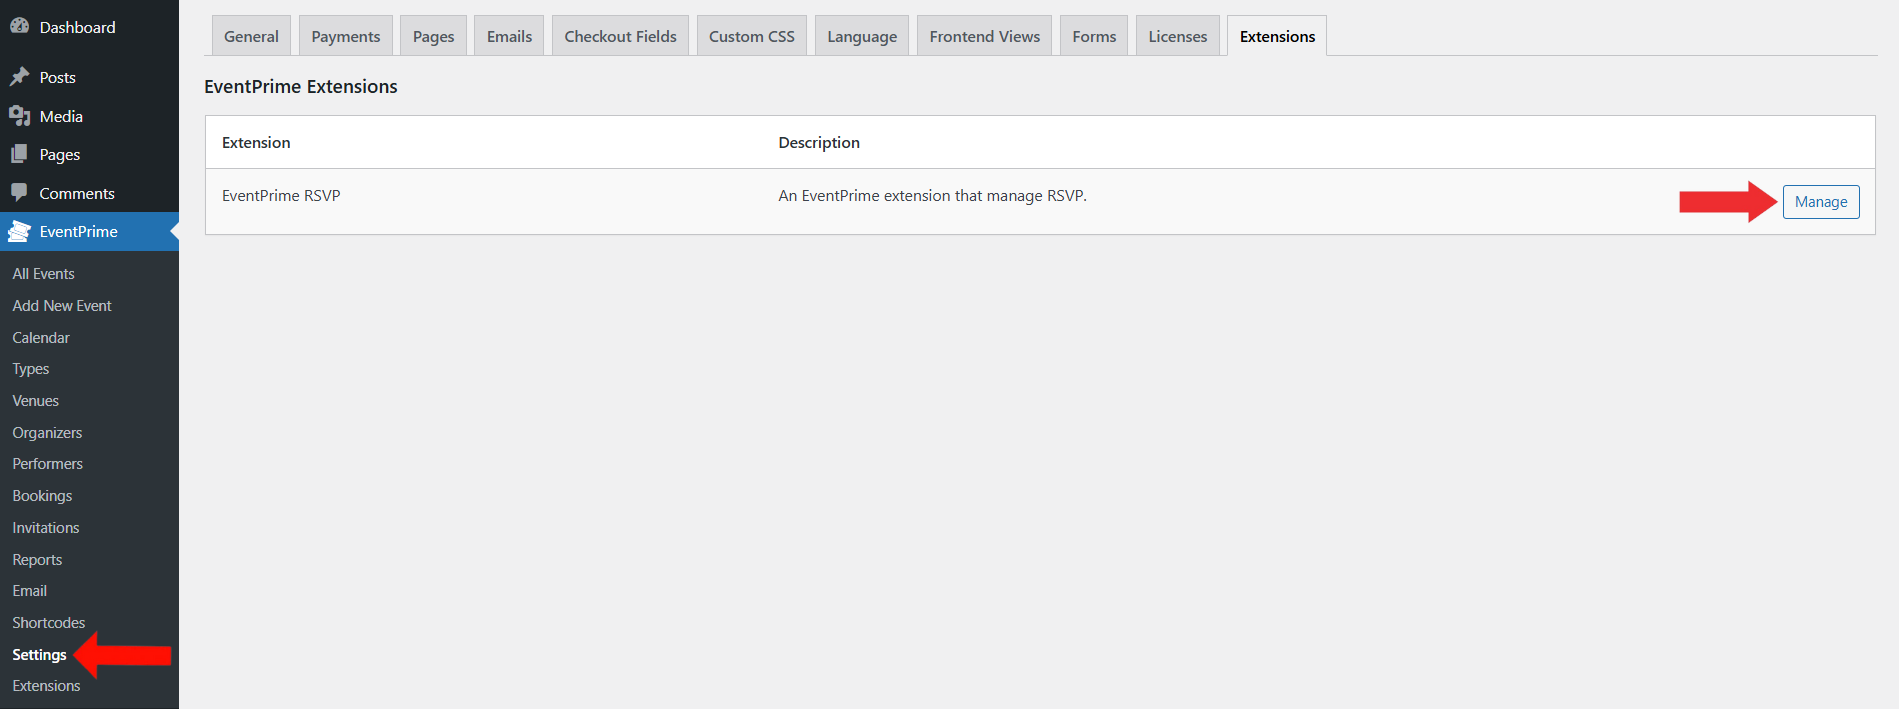
1. Access RSVP Settings
- Navigate to the EventPrime menu and click on Settings.
- In the Extensions tab, locate RSVP extension and click Manage to open the RSVP configuration interface.
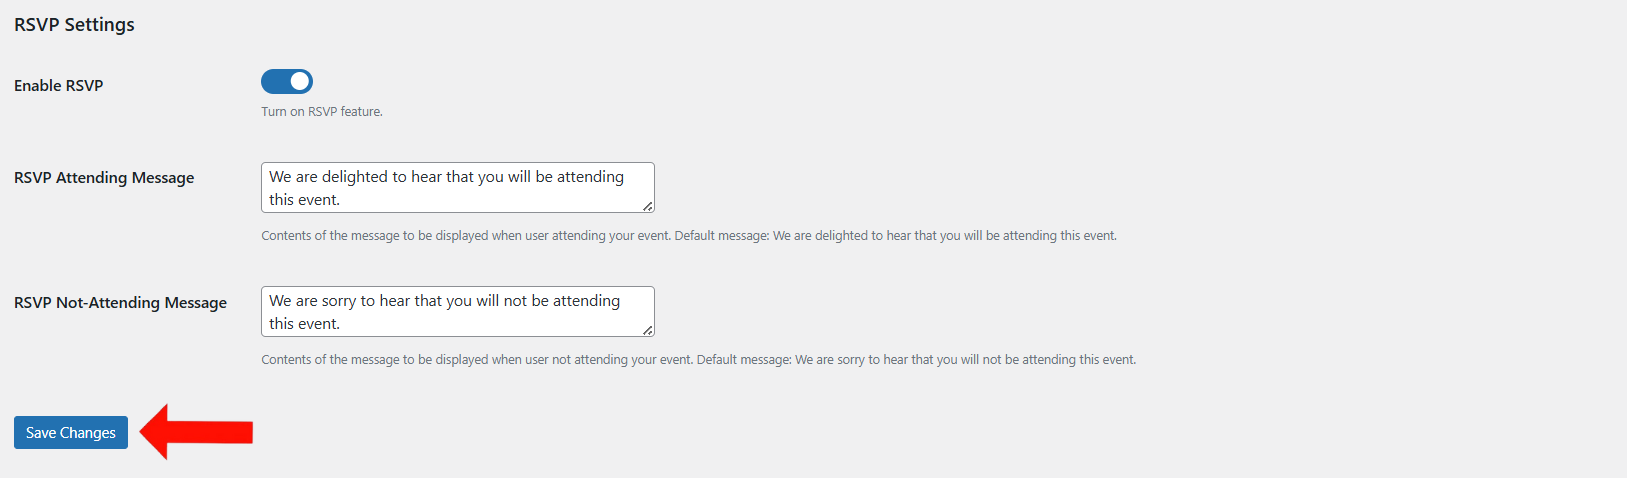
2. Enable RSVP Feature
- On the RSVP Settings page, toggle Enable RSVP to activate.
- Enter your custom messages for RSVP Attending and RSVP Not Attending attendees.
- Click Save Changes.
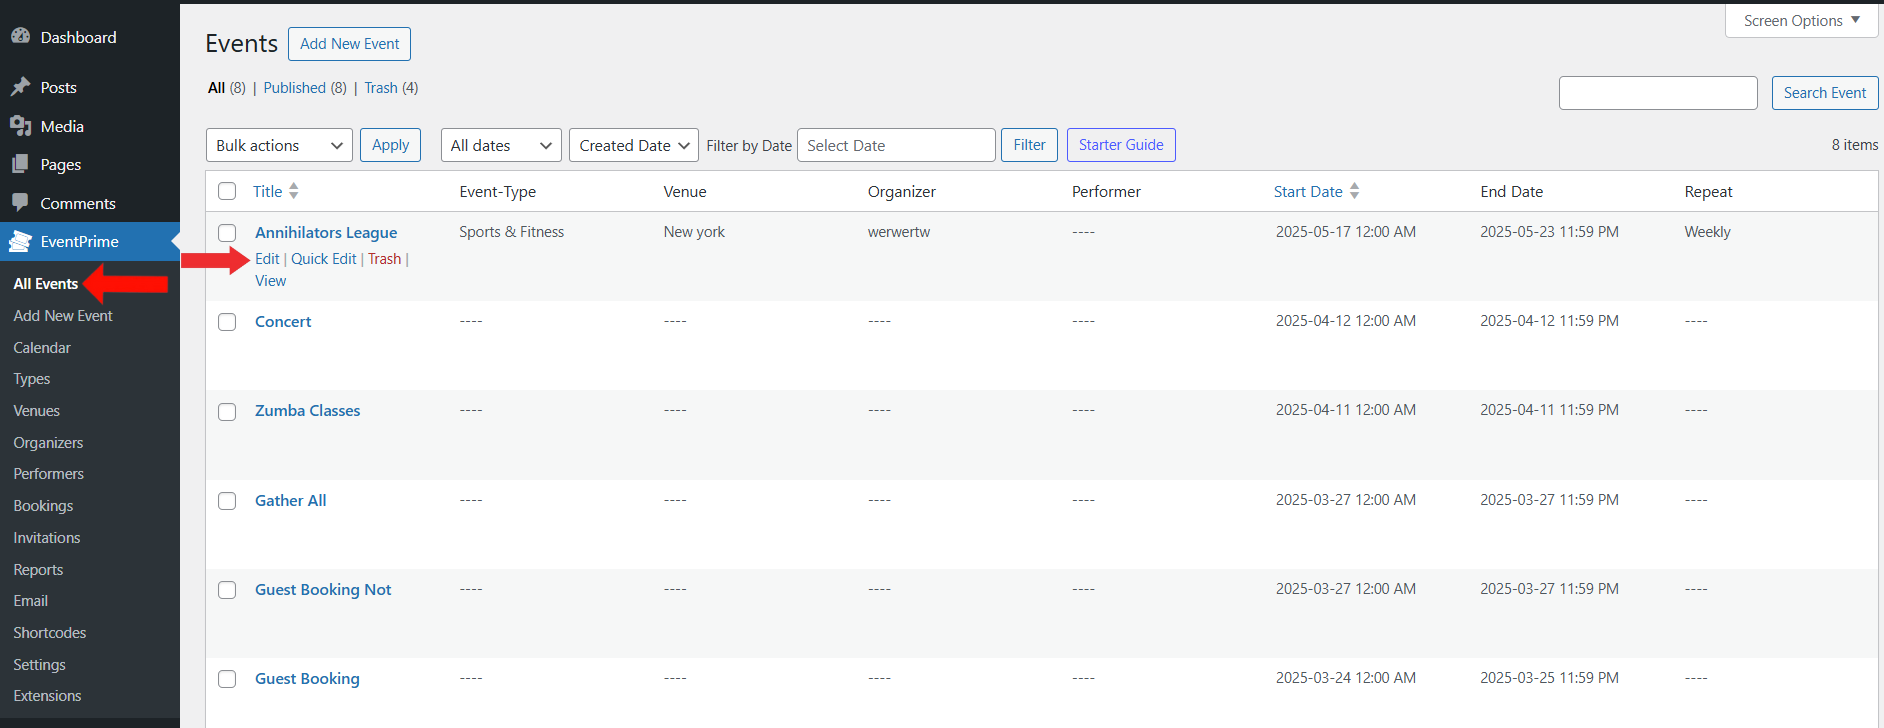
3. Access the Event to Enable Invite-Only
- Go back to EventPrime menu, then select All Events submenu.
- Click the Edit button for the Event you want to make invite-only.
When an Event is marked as invite-only, Bookings can only be made by users who receive an invitation email with a unique RSVP link. This ensures that only selected attendees can access the Booking process.
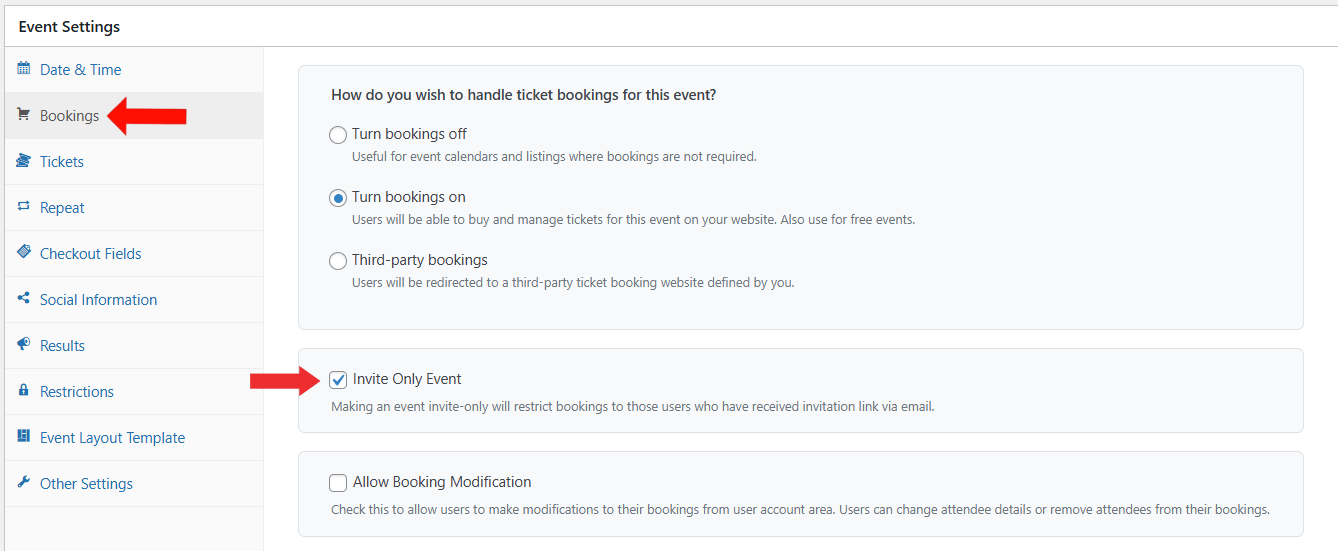
4. Enable Invite-Only Option
- On the Edit Event page, navigate to Event Settings, then select Bookings tab.
- Check the Invite Only Event checkbox.
- Update Event to apply the setting.
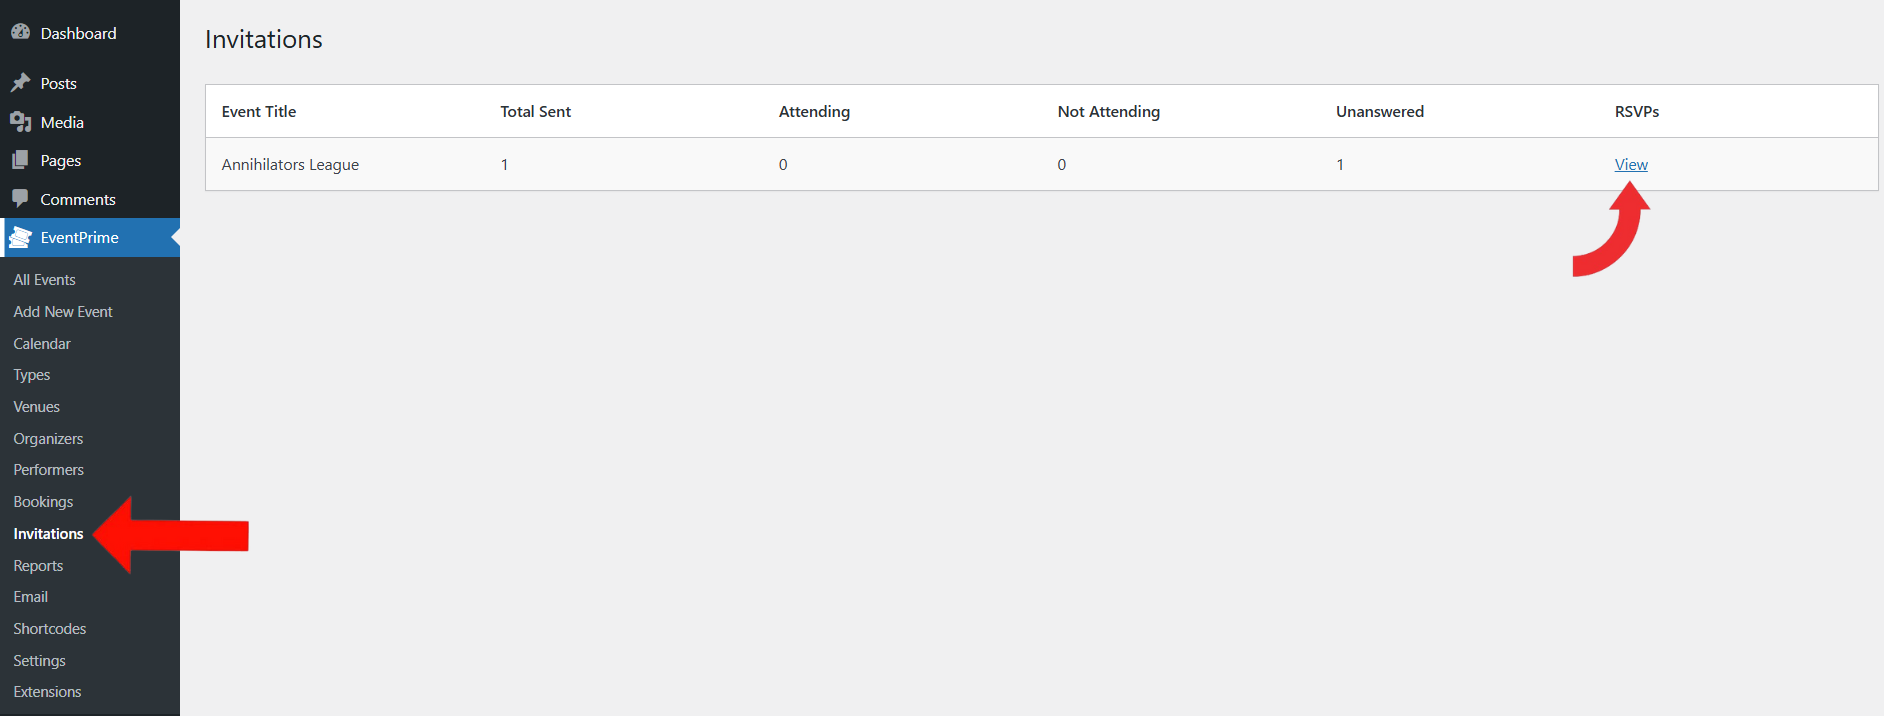
5. To view the interface for RSVP:
- From the EventPrime menu, go to the Invitations submenu.
- Locate the Event and click View under the RSVPs column.
6. Once you are ready to send out the invitations, on the RSVP page:
- Click New Invitation to open the invitation form.
- Fill in the attendee’s First Name, Last Name, and Email Address.
- Click Send button to trigger the invitation message.
- If you need to send invitations to a large group and have their information in a CSV file, use the Bulk Invitation feature. Simply click the button to upload your CSV file. Once uploaded, invitations will be sent to all the email addresses listed in the file.
- You can also print the attendee list using the Print button.

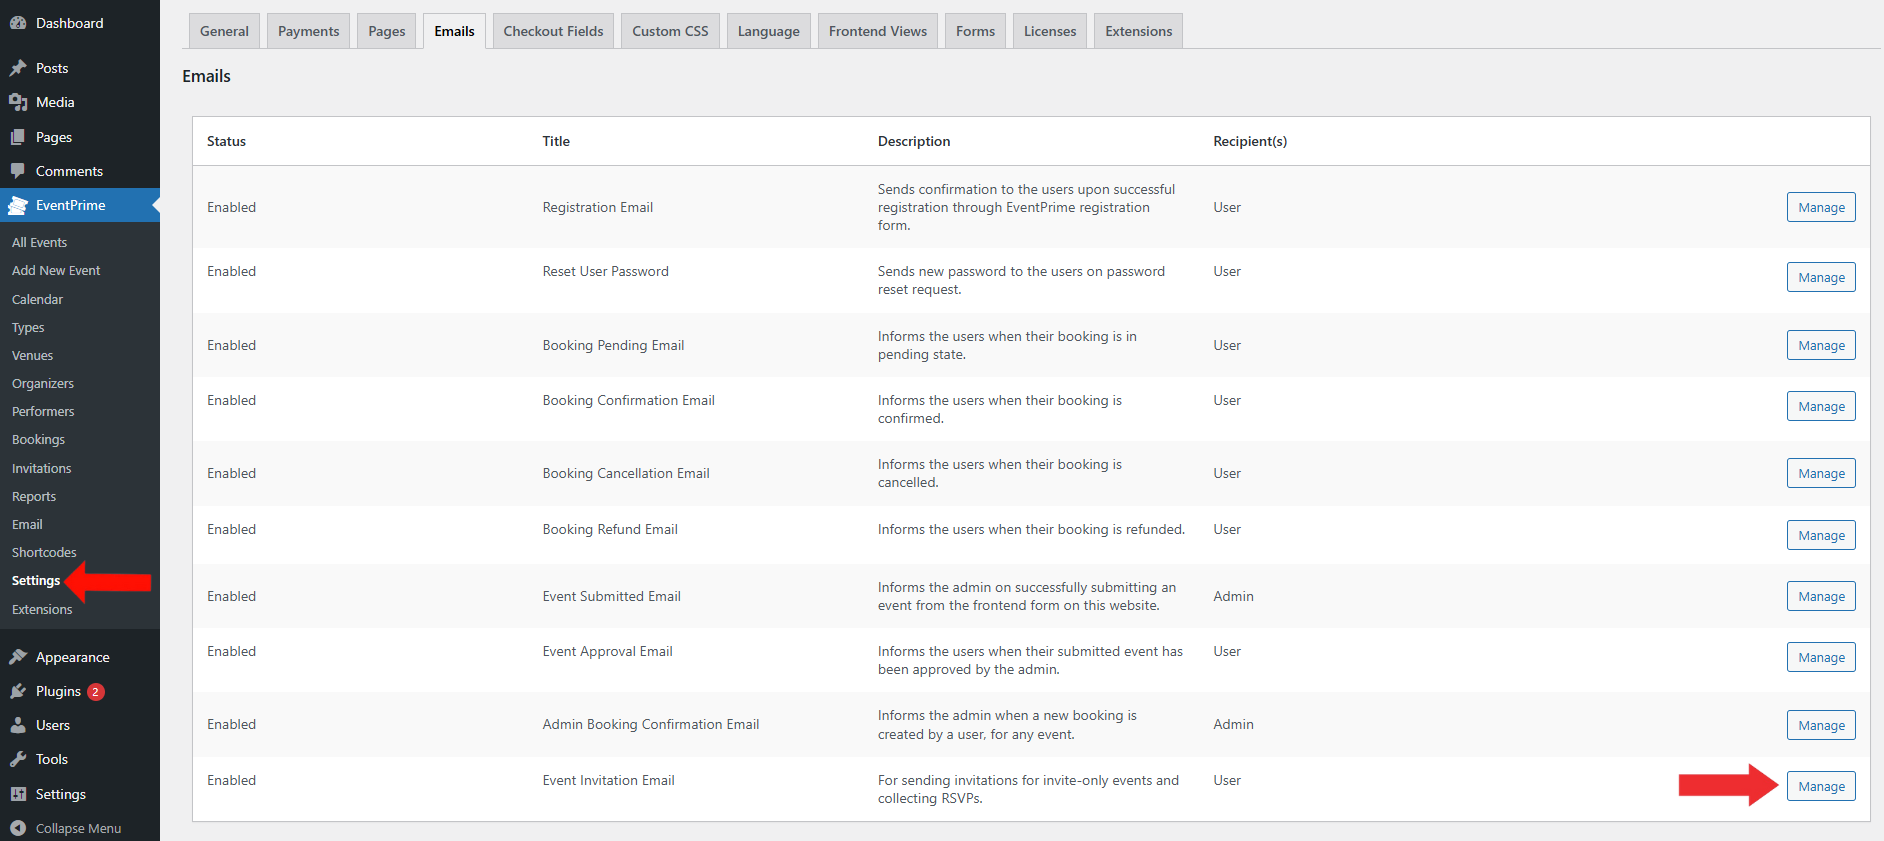
7. You can personalize your Event invitation emails by adjusting contents and design as required
- Go to EventPrime menu → Settings menu→ Emails tab.
- Scroll to Event Invitation Email and click Manage button.
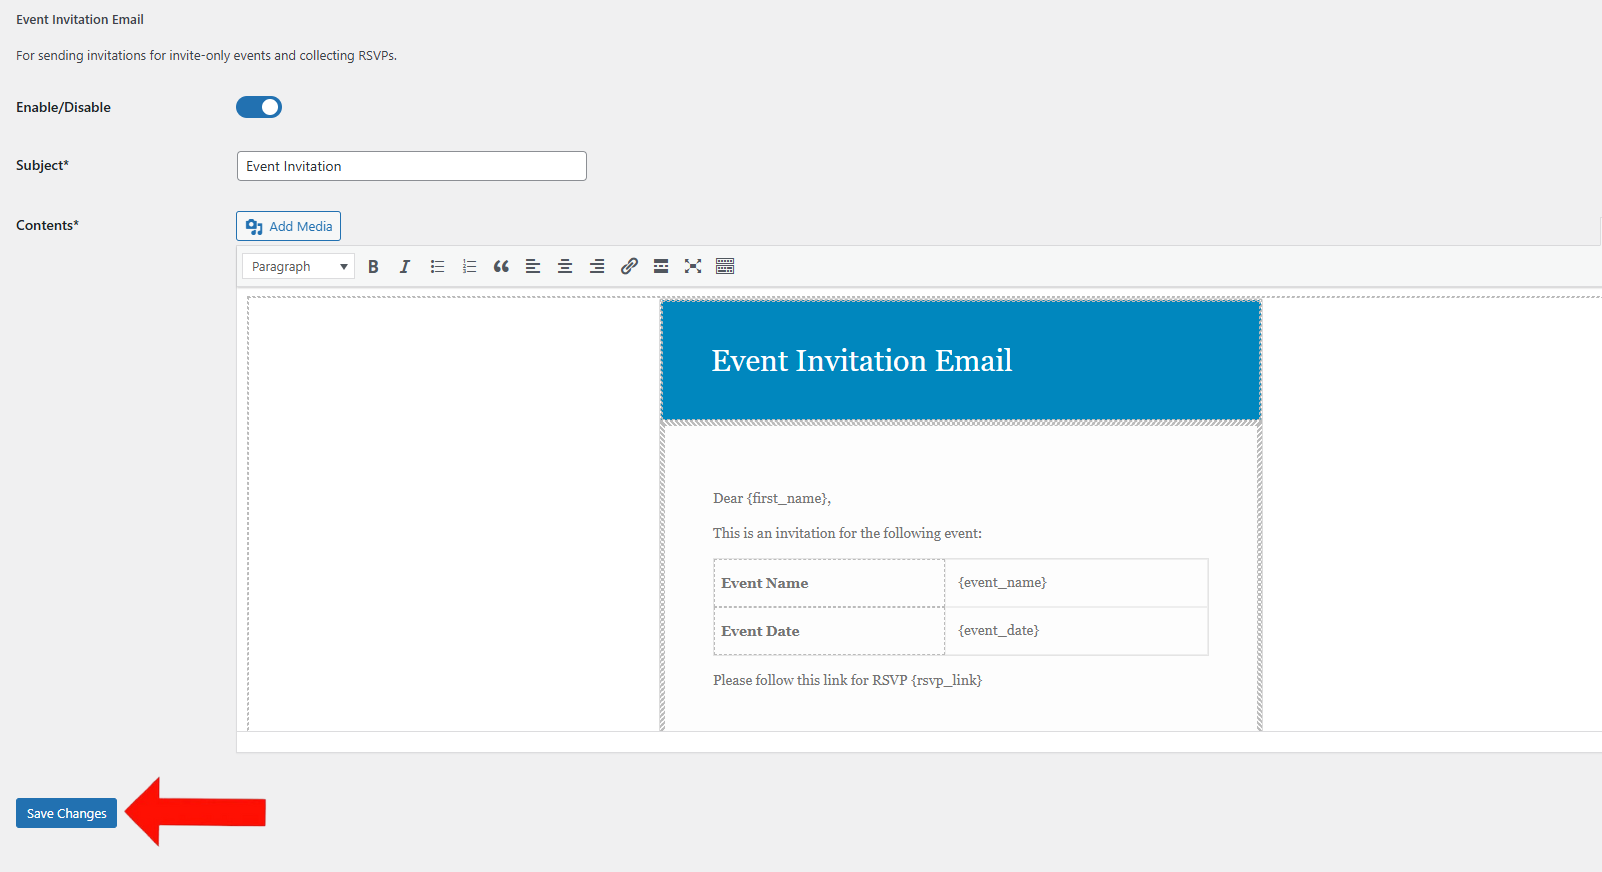
8. Customize and Enable Invitation Email
- Toggle the Enable/Disable switch to turn on the invitation email.
- Enter your subject in the Subject field.
- In the Contents area, edit the message body as needed.
- Use the Add Media button if you’d like to include images.
- Click Save Changes button to apply your settings.
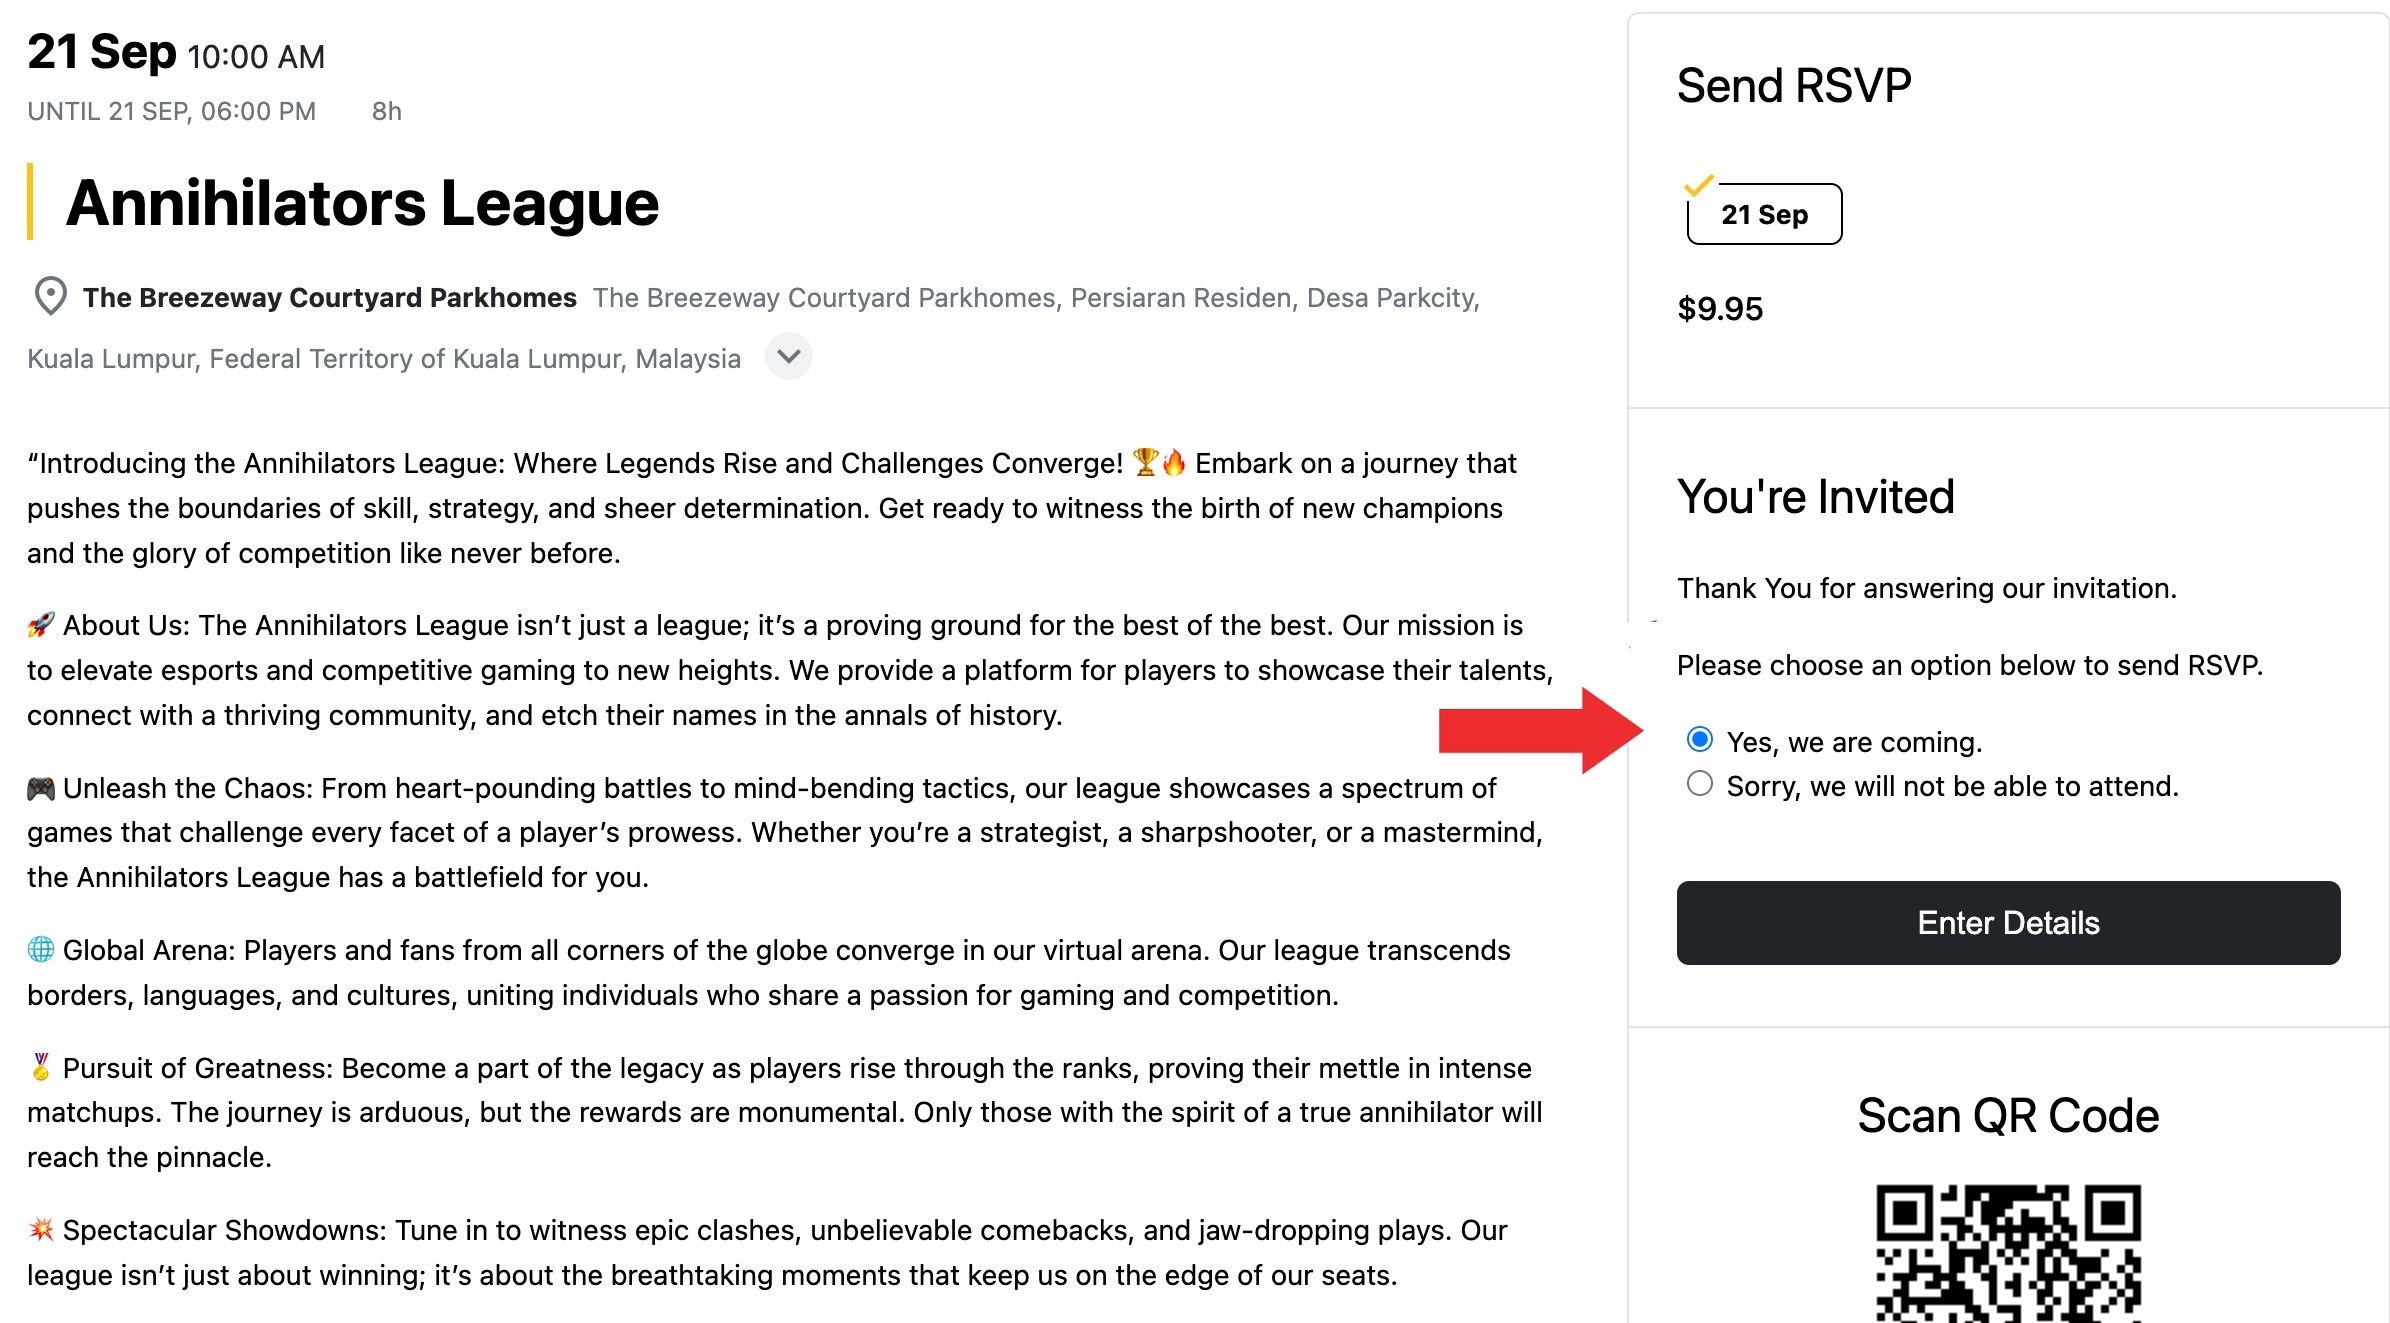
Frontend View
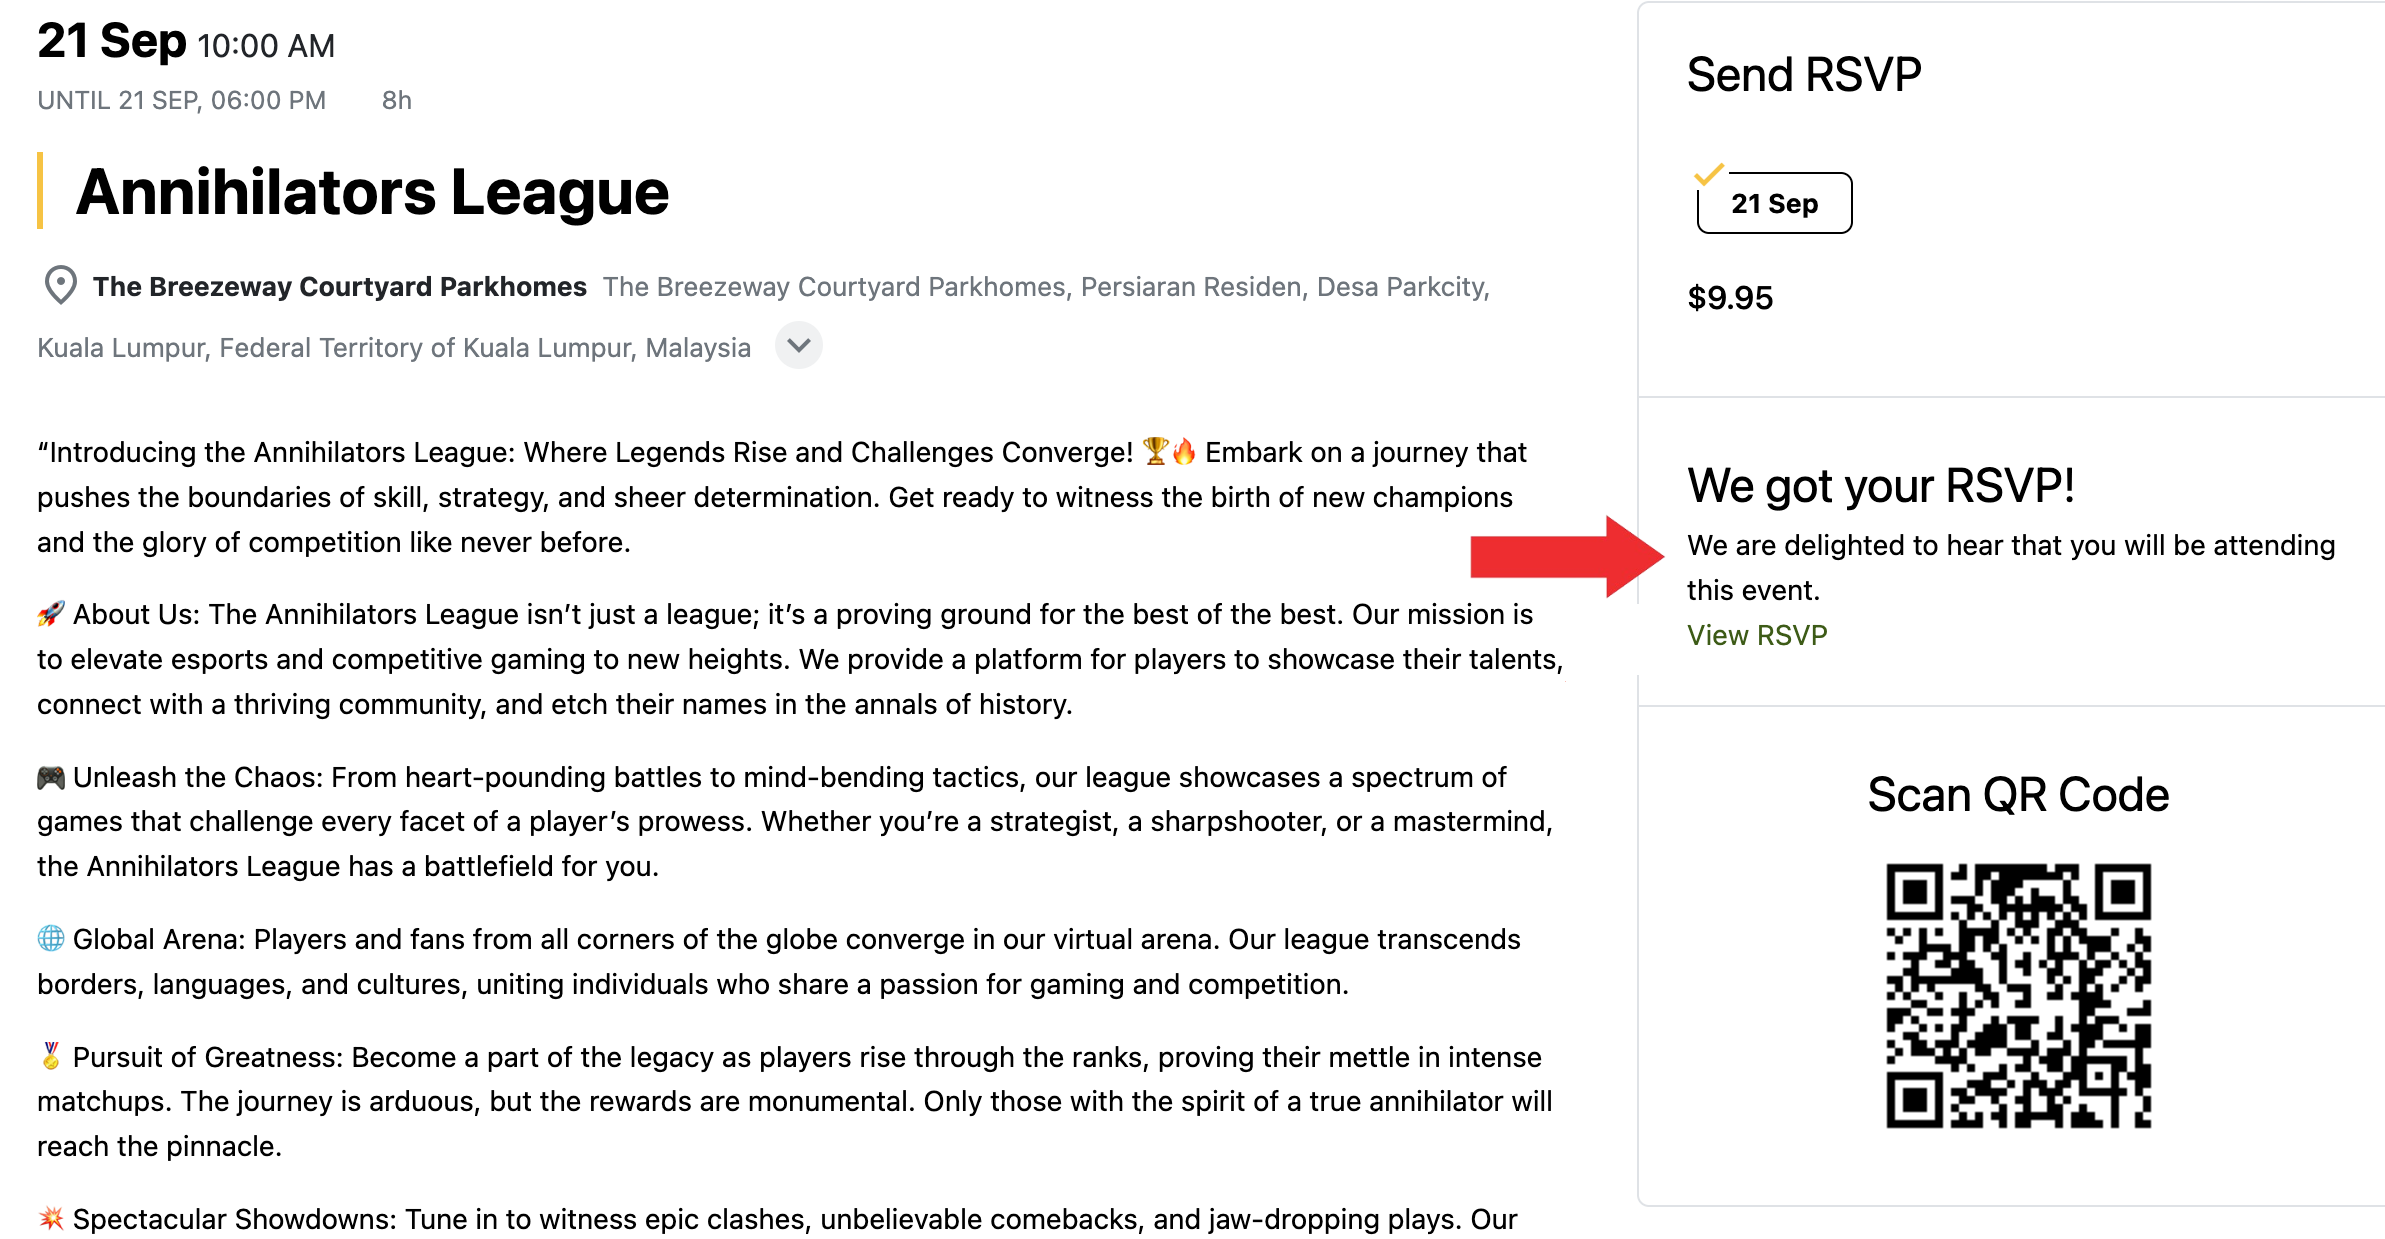
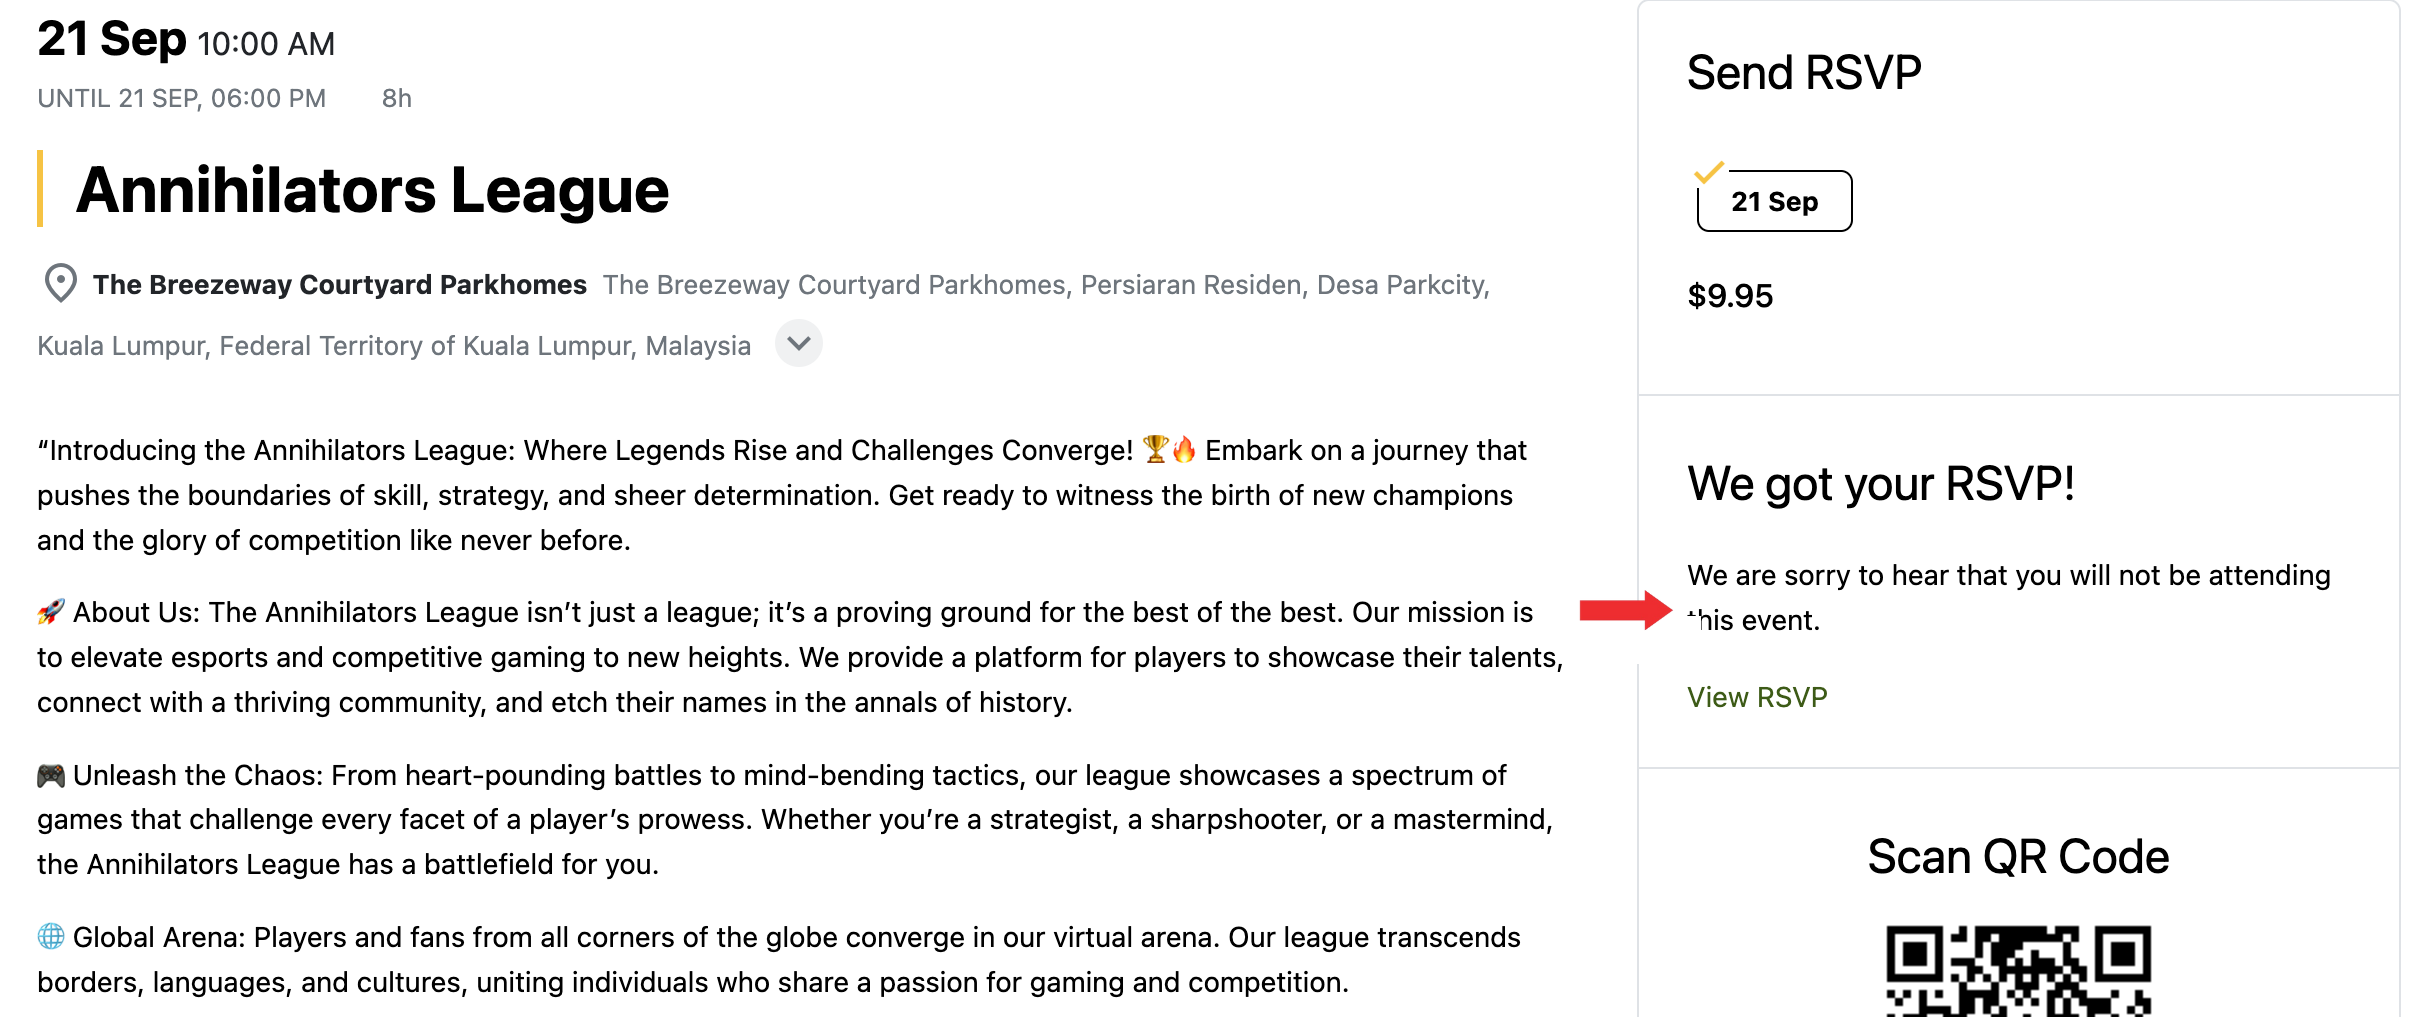
Once an invitation is sent, guests will receive an email with RSVP options. Clicking the RSVP link will direct them to a response page with two options:
- Yes, we are coming
- Sorry, we won’t be able to attend
Depending on the selection, their response will be saved and displayed in the RSVP dashboard.
Guests can also log in and navigate to User Profile → Invites to view or manage their RSVP status.
Conclusion
The RSVP extension in EventPrime makes it simple to manage private, invite-only Events. Send invitations, track attendance, and monitor guest responses—directly from your dashboard. It’s an effective way to handle closed or limited-access Events while keeping everything streamlined.
Questions, Support & Custom Solutions
- Need more details or can't find what you're looking for? Let us know how we can help! Contact our support team here.
- Looking for a tailor-made solution to meet your specific needs? Our dedicated customization team is here to help! Use this link to share your requirements with us, and we'll collaborate with you to bring your vision to life.